Search results
70 results found.
CALIFORNIA LIVING, CANADIAN MADE
70 results found.
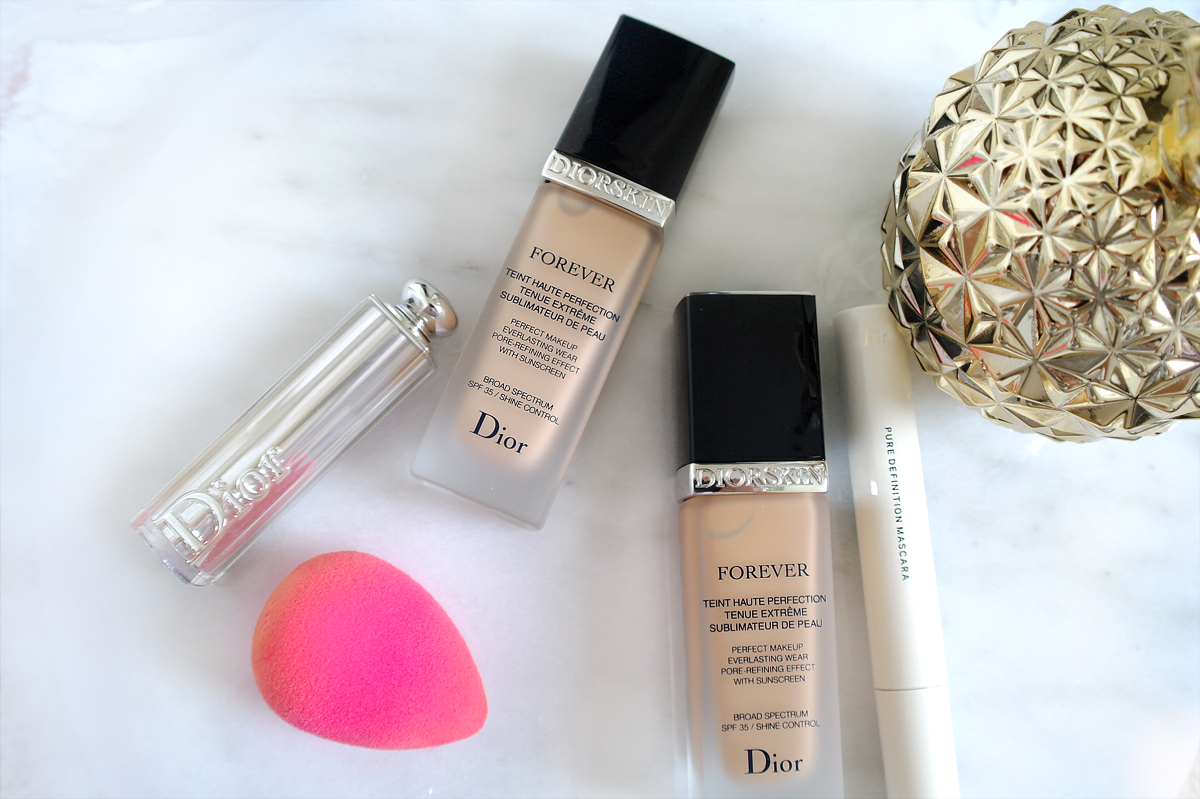 Reminder, I’m blogging about Dior beauty products all week!
It’s always tricky reviewing foundations on my blog.
What works for me, doesn’t necessarily work for you, and vice versa. Some Dior foundations are my holy grail (the Dior Hydra Life BB cream is my FAVE, the Airflash is amazing too), and others I could simply chuck off to the wayside. I mean, I’m giving you my honest thoughts here. I want you to trust, and value my opinion and not come here just for the pretty photos and read my PR sample pitch.
 I’ve been quietly testing out the Dior Forever foundation since the beginning of February. I received it to my California address while spending 8 weeks back home, and when I got back to the west coast, I tested it out almost every day (obviously not on the days I was wearing/testing out my H&M BB cream).
I want to give foundations fair trial runs before chatting about it on my blog, and wearing the product multiple times helps. I applied the Dior Forever foundation using various techniques — using the Dior Fluid Foundation brush, Real Techniques core collection brush, and a Beauty Blender.
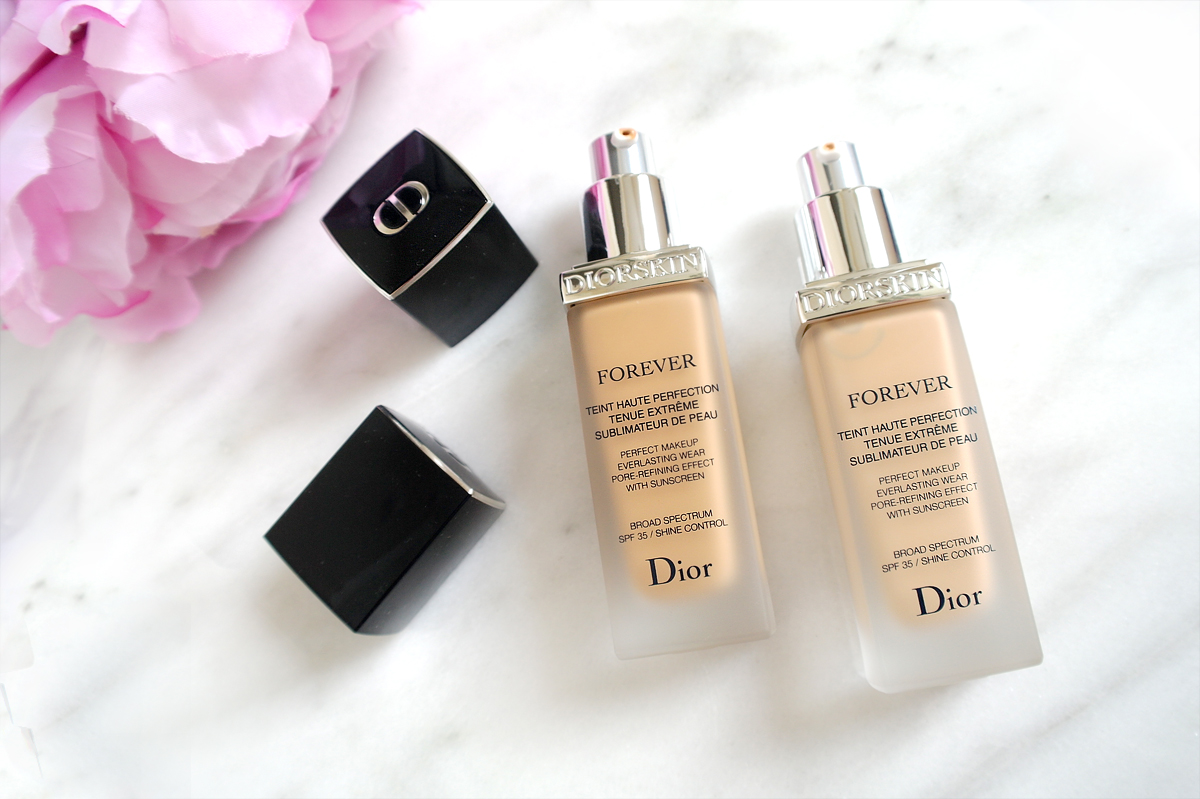
Of course, it helps seeing the product before/after on my skin to produce your own opinions of how the product performs on the skin. For a quick reference, I have dry/dehydrated skin and I applied philosophy hope in a jar face moisturizer before the foundation.
Before/After: (I’m wearing the shade 030)
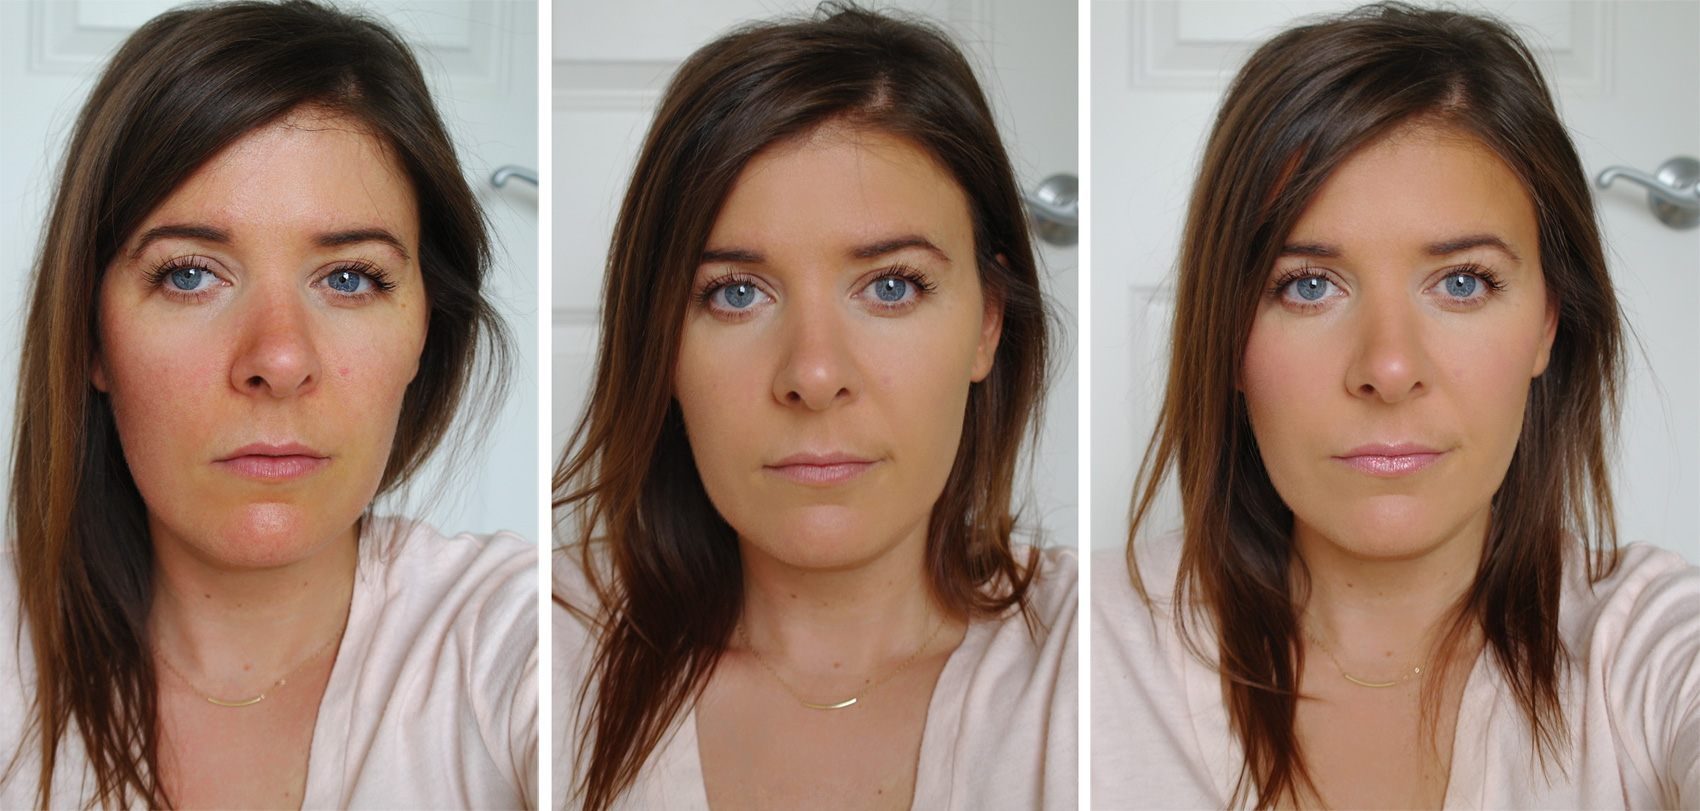
First photo: No face makeup (I applied mascara + eyebrow pencil).
Second photo: Dior Forever foundation applied with my Beauty Blender sponge.
Third photo: Finished look (I added bronzer, concealer and lipgloss).
Click to view an upclose shot of the final photo, to see how much coverage it truly gets. No photoshopping!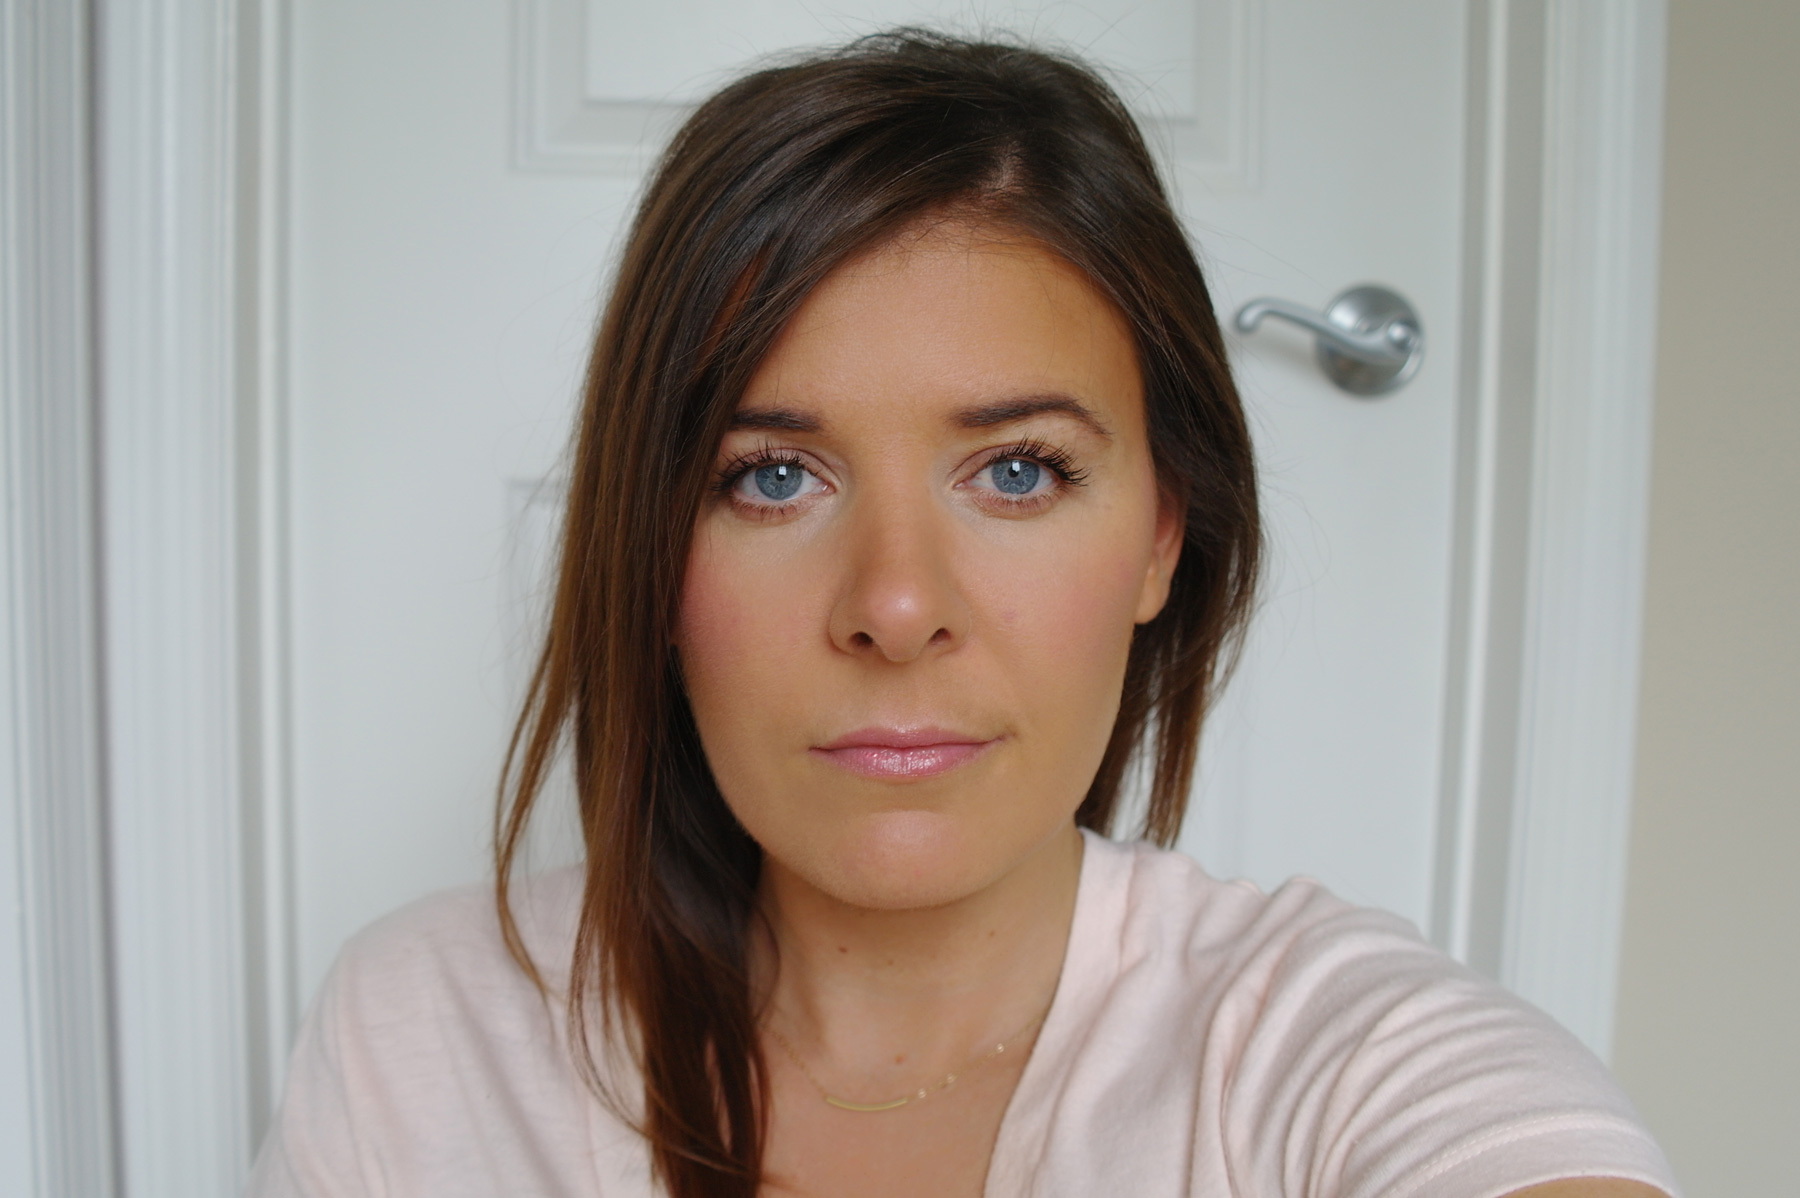
Quick after thoughts: It blends easily, and goes on smoothly with a medium coverage applied with all three techniques listed above, and it lasts all day long.
However, Peter Philips, the Creative + Image Director of Dior Makeup describes the foundation perfectly:
“a working woman’s complexion that she can count on for a perfect matte finish and just enough coverage.”
What I look for in a foundation, is something that provides a medium coverage, and has a soft sheen and glow to my skin making it as naturally dewy-looking as possible. However, on occasion I do like to have perfectly flawless skin, and that’s when I reach for my Estee Lauder Double Wear foundation (I often use a bit of the Estee Lauder foundation mixed with the Dior Hydra Life BB cream to provide a dewy AND flawless look, it’s what I wore on my wedding day!…ok getting off topic here).
I’d recommend the Dior Forever foundation for anyone who wants a long lasting formula that provides a flawless finish. Apparently this is a fantastic foundation for those with oily skin types as it is marked to help control shine. This is a matte foundation, but it doesn’t look flat, cakey or fake on my face, nor does it oxidize on my skin.
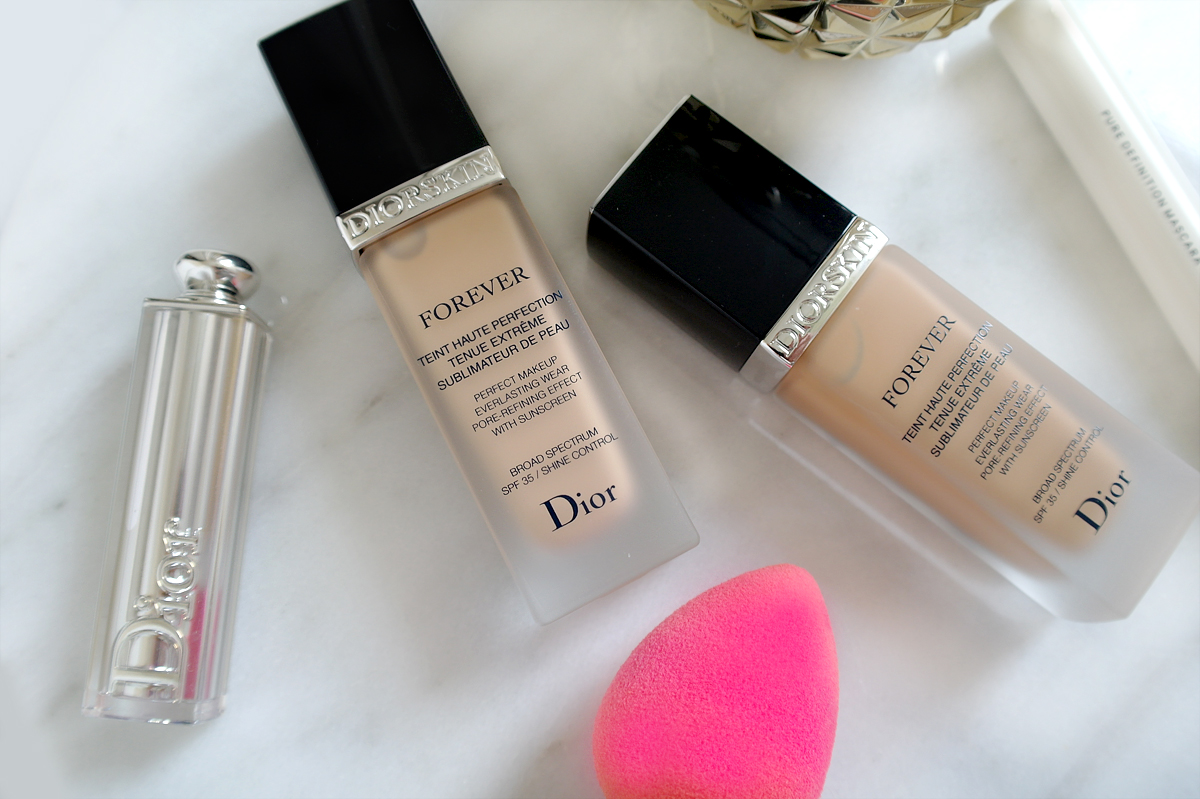 Dior Forever Foundation is available in 16 days for $50.00 CDN at Dior counters nationwide, The Bay, Sephora.ca/Sephora.com, and Holt Renfrew
 As much as I love the California sun, and I’ve always said to people I’ve been born to live down in the warmth — I don’t love sitting out in the sun and baking my skin all day long. For one being the obvious skin cancer, and secondly I burn easily, and I get bored of laying out.
A couple of people in person asked me how I get so dark, when I tell them I use self-tanner, they’re almost always shocked at how natural it looks. So today I’m showing you, whether or not you’re super pale or already have a nice olive skin tone how to apply self tanner, and what tanners I recommend without sitting in the sun baking your skin with all those UV rays ruining and wrinkling your skin up!
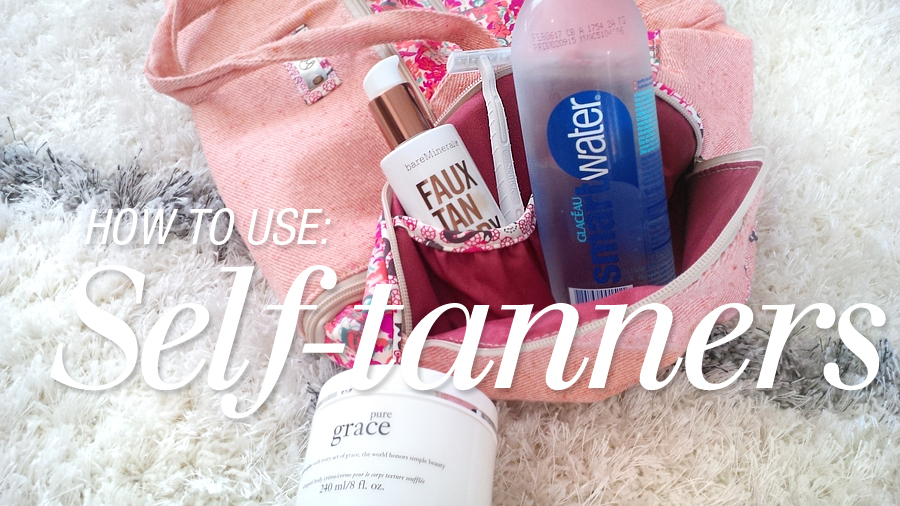
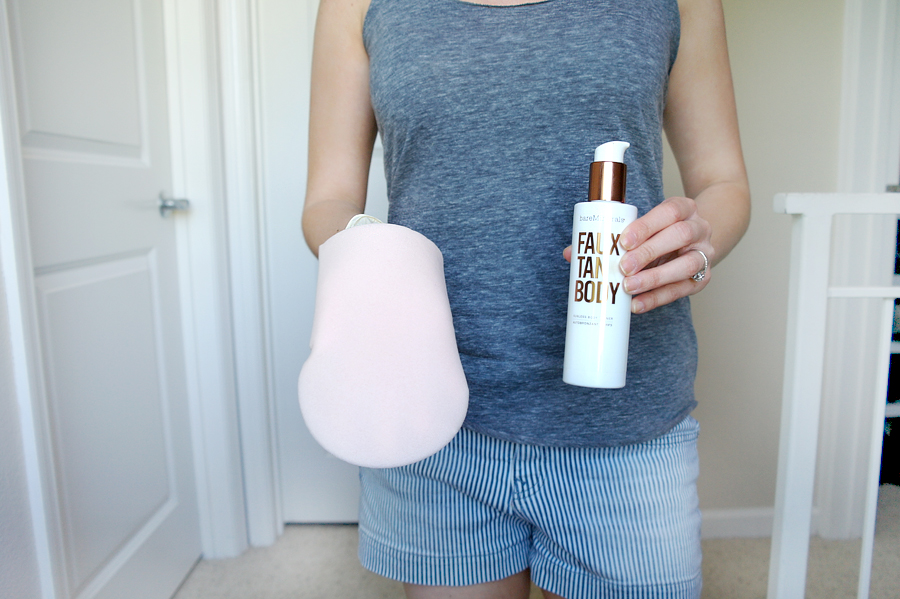
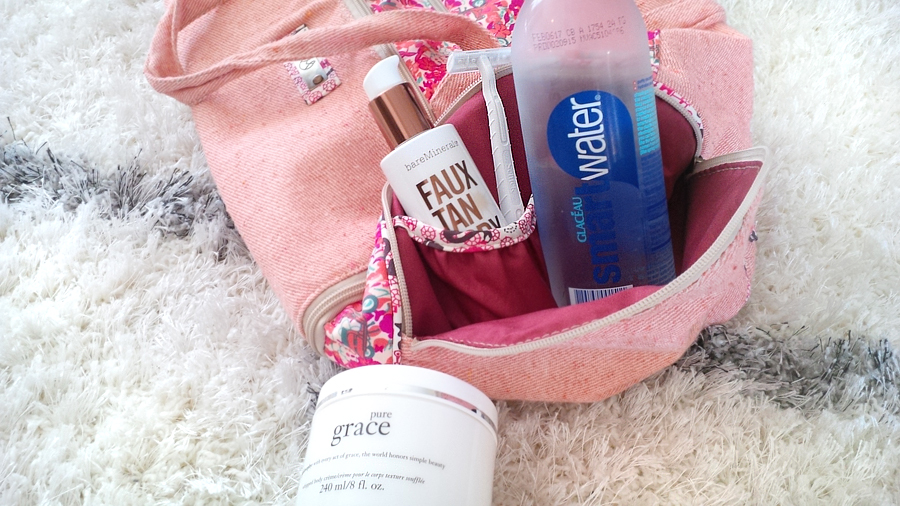
 I have a number of favourite self-tanners that I use (bareMinerals Faux Tan Body, St. Moriz mousse in dark, Fake Bake flawless darker, and finally Clarins Self-tanning instant gel + Liquid Bronze +  is what I used on my wedding day!). Everyone is different and prefers different brands. But for the sake of this review, I will be only using one self-tanner to keep things simple, the bareMinerals Faux Tan Body.
For the best and most natural looking tan you need to start off by preparing your skin before the application. I’ve been using a self-tanner for 5-ish years and I am always being complimented on how natural it looks!
 Exoliate in the shower
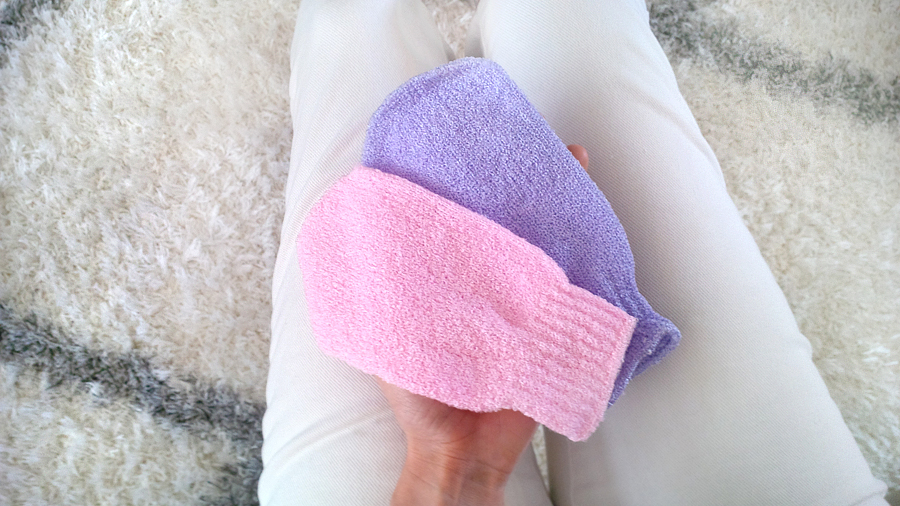
My skin is on the normal to dry side, so I want to scrub off all the dry dead skin before applying a fresh coat of self-tanner. I would suggest hopping in the shower to shave, then exfoliate your skin with an exfoliator mitt, and a body scrub without oil in it. Oil will hydrate your skin and leave it too moisturized therefore your tan will not stick on, and it will apply patchy!
Tip: I pick up my exfoliating mitts at the dollar store! No need to spend any more than a dollar on these.
 Apply moisturizer to stubborn dry areas
Once you’re dried off get out your thick moisturizer (I like to use body butters) and apply it to the tops and bottoms of your feet and in between your toes, apply more to your knee caps, and elbows.
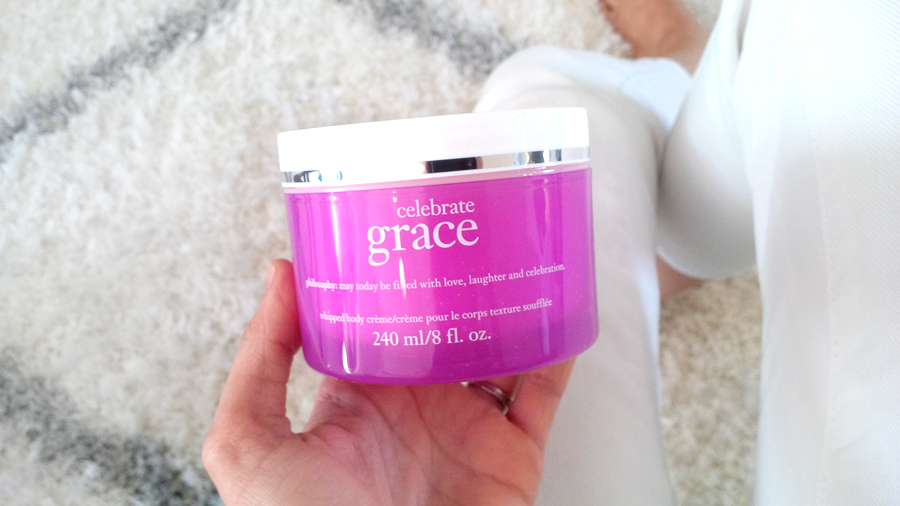
Tip: I use either philosophy whipped body butter or lush’s dream cream
 Buy gloves and a tanning mitt
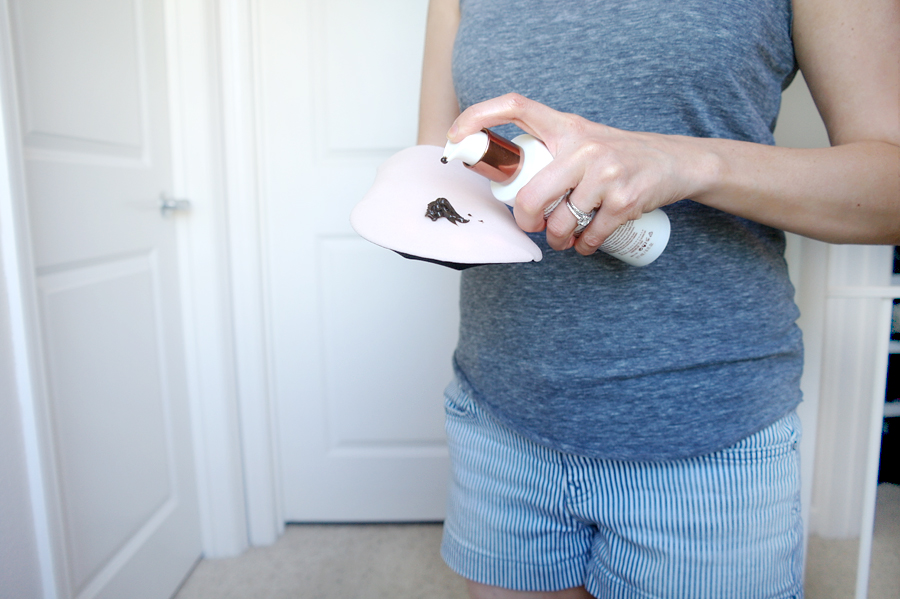
Since I’m scared about having the palms of my hands dyed, I like to use disposable gloves underneath the tanning mitts.
Tip: You can pick up disposable gloves anywhere, and I found that the tanning mitts are beneficial for an even tan — those can be purchased online (I get mine from eBay) or at Sephora, Ulta, Shoppers Drug Mart.
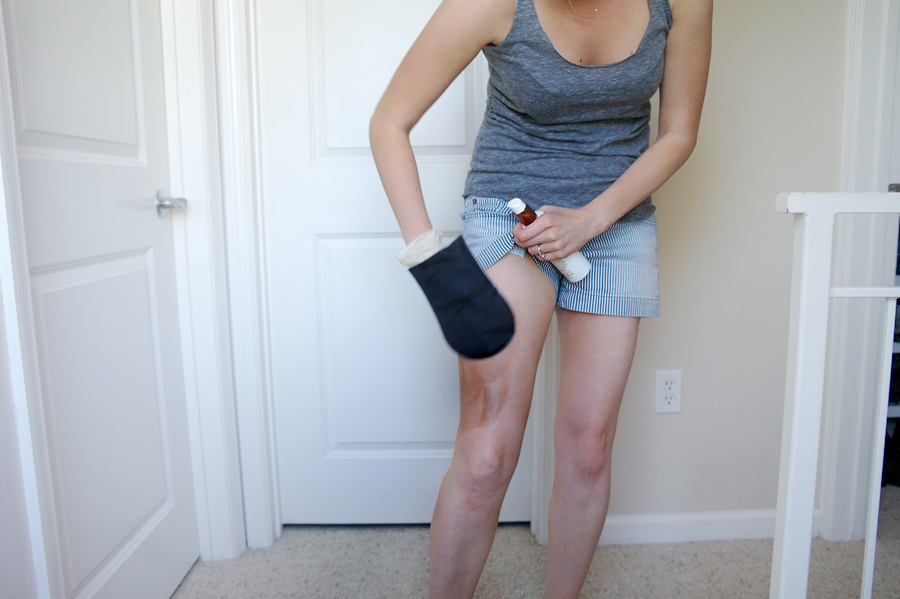
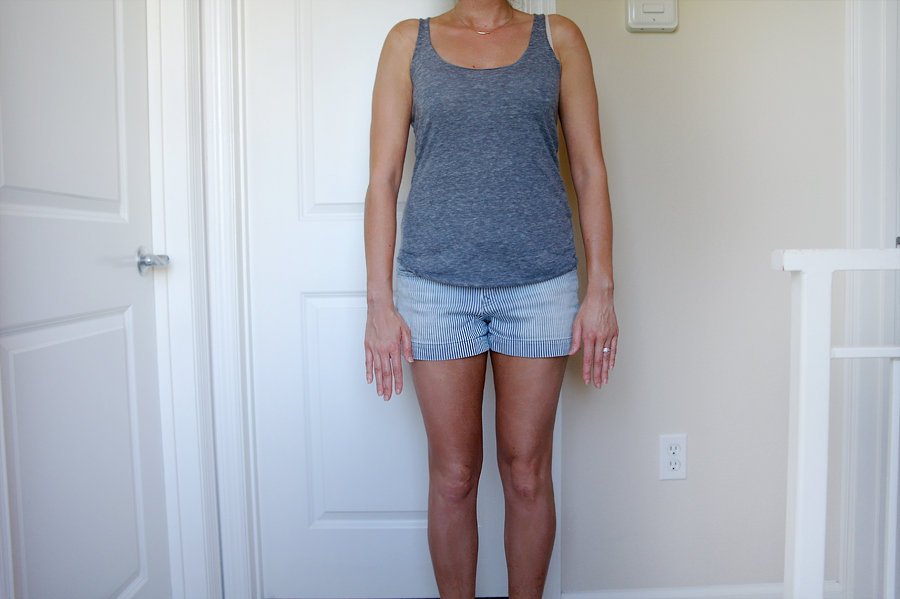
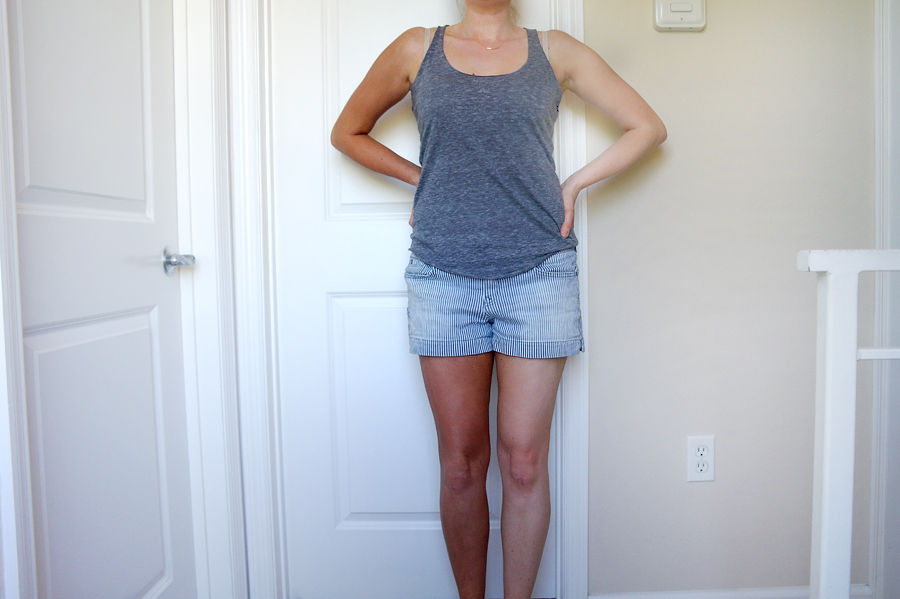 I prefer to work my way up the body in sections so I don’t miss spots. I either work in circular motions or in straight lines upwards/downwards. Use a full length mirror to make sure you didn’t miss any spots. To tan your back (it’s tough around the shoulder blades/spine area) ask someone to do it for you, or if your left arm is super flexible like mine, you’re grand. For the last picture shown above, I only did one half of my body so you can truly tell how dark it can get. I like to be extra dark, but you don’t have to apply as much tanner as I do. What’s great about self tanners is that you can go as light or as dark as you want, depending on how much product you use.
Tip: If you want to get extra dark for a special occasion, allow your self tanner to dry for the recommended 6-8 hours, then apply a second coat of another product (for this, I prefer to use Fake Bake’s product). Sometimes I just use this on my legs, or just on my chest area. It certainly makes a difference. If you don’t wait until your first layer is dry, you’ll ruin/streak the tan.
Leave feet/hands for last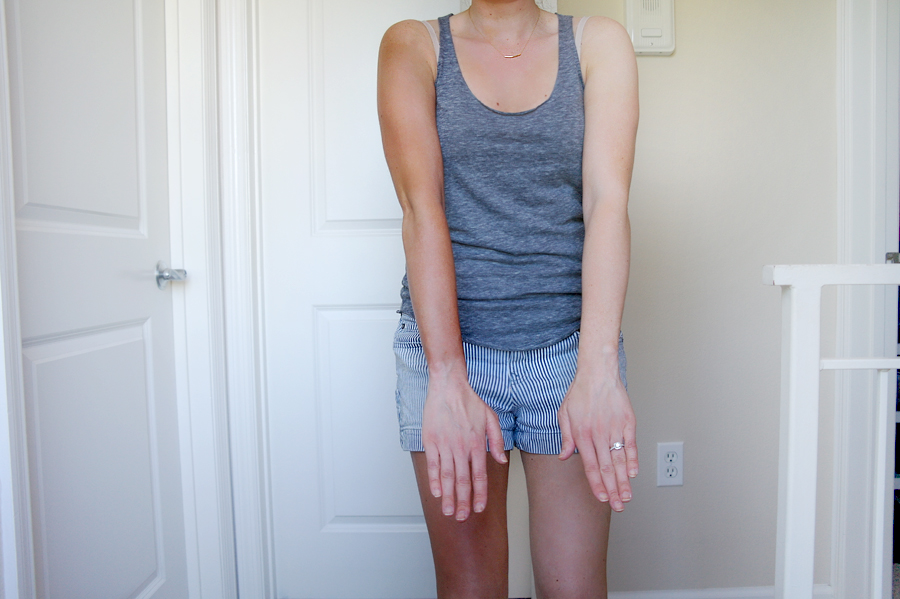 Toes/hands are the most difficult areas on the body to tan as that is where you can ultimately see what mistakes you made. Finally after a number of years, I have perfected how to apply self tanner to those areas without them looking unnatural. Here’s how!
Wear loose clothing and allow your tan to dry
 Stay naked for as long as you can, or until the tanner dries, about 15 minutes. I tend to do this at night time when I’m getting ready for bed.
Tip: Wear loose dark clothing – the guide may leave marks on your lighter clothes but it will wash out.
Wash the guide off in the morning
A self tanner usually has a guide so you know where you’ve applied your tan. You need to wash it off in the morning and then you’re left with a tan for about 5-7 days.
 Yes, I use all the self tanners listed below on my face, with no issues. Tip: If you’re more comfortable with sunless tanner, try layering them to get a deeper colour. Once summer hits, I apply my first coat of self tanner and apply a second brand 4-6 hours later and I’m SUPER dark. If you apply too soon, the colour will streak.
bareMinerals Faux Tan Body ($26USD / $32CDN)
Pros: Although I listed this as a pro, I love how quick it dries, and I don’t feel sticky afterwards. You do have to work at a faster pace than if you were to use mousse sprays. It has a really nice smell (like a food, but I can’t put my finger on it. Apple?). It feels moisturizing when blending it into the skin.
Cons: It dries quickly, so I wouldn’t recommend this to people who are new to tanning. Although, if you’re concerned about that I would recommend you mix it with your moisturizer for a lighter glow. So don’t miss out on this product simply because of the drying time.
St. Moriz mousse in dark ($8.13USD)
Pros: The cheapest self-tanner I’ve used, and the one I reach for the most.
Cons: If this even counts as a con, it’s rarely sold at Ulta, and so I have to buy it on eBay and it takes a few weeks to get in since it comes from the United Kingdom.
Clarins self-tanning instant gel ($37USD /$37CDN)
Pros:Â Smells good, doesn’t leave a sticky residue and is relatively available at many stores.
Cons: If you use too much you will turn more orange, so you have to be cautious. It also applies clear so it’s easy to miss spots.
Fake Bake flawless darker ($30USD at Ulta but $13 on Amazon!)
Pros:Â Excellent for layering. It has a fine mist and a nice reddish undertone so it’s mimics an authentic tan.
Cons: I don’t like to use mists (I find that it’s a bit messier). Other than that, it’s definitely in my top 3 of must-buy tanners.
Simple and to the point, to prolong your tan make sure you moisturize every day. If you notice it is wearing off and want to remove the rest, hop in the shower and exfoliate and start the whole regimen all over again :)
 Disclaimer: I asked to the PR company if I could review the bareMinerals faux tan body because I am a fan of self-tanners and wanted to try this one out.Â
 The image above is a picture of me at the base of famous El Capitan when I went on a climbing trip to Yosemite. I still haven’t written about our trip yet, but check back next Thursday because it will be going live on the blog then! But until now, it’s birthday wishlist time :)
Lately, I’ve been more about experiences, and not stuff. Exploring California before I take it for granted. See all the neat places, and do all the things. Though sometimes it’s nice to unwrap a couple of gifts whether or not you need them or not. I love making these sort of playful wishlists for upcoming holidays, or birthdays. My best bud is coming down to California, from Canada the day after my birthday — so I’m already saving up my pocket change to go shopping with her basically everywhere in NorCal. Hopefully I’ll be able to pick up the few things I’ve been eyeing at the stores. So here’s a couple of things I’ve been itching to get my hands on recently, but have refrained.
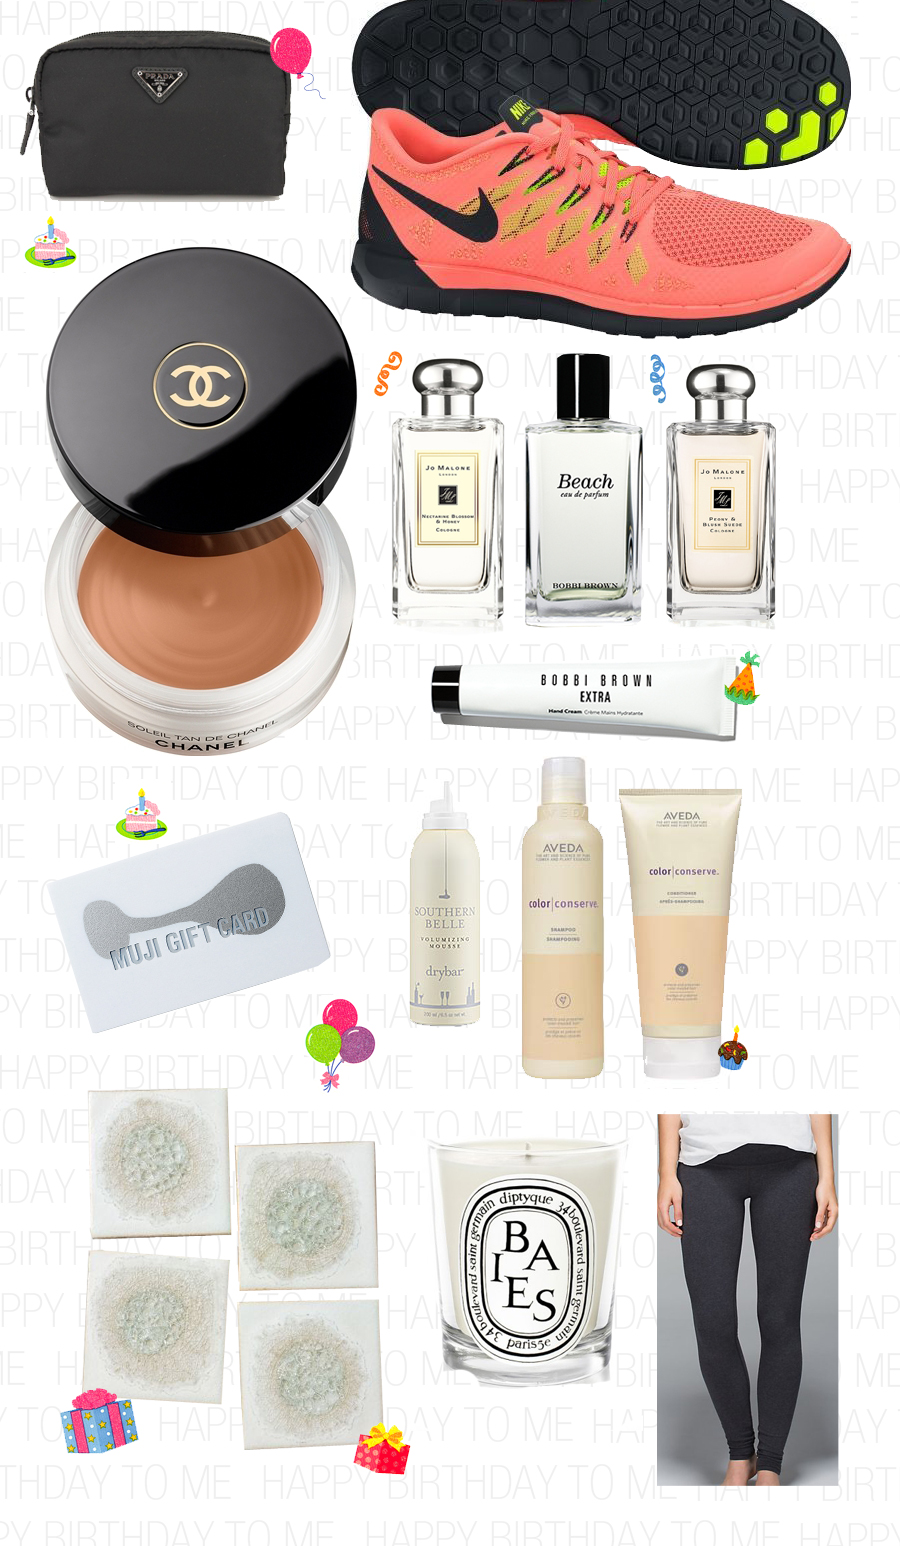
white coasters + Diptyque candle + Nike running shoes + Aveda shampoo/conditioner
Nectarine Blossom & Honey + Peony and Blush Suede (I think the latter gives me a headache lol)
Soleil tan de chanel, Cotton Wunder Under Roll Down
Prada nylon makeup bag +The Dry Bar southern belle
Bobbi Brown Beach + Bobbi Brown hand cream
MUJI gift card so I can organize the world (aka our house)
Oh to be frivolous with money. I can dream.
What things have always been on your wishlist but never bought?Â