
I’m loving self-tanners. I waited until the 2010’s to start diving in, and I’ve been adding a bit of glow to my skin regularly for the past five years. Mainly because “back in the day” the tanners were streaky, a tad orange, and well….still a bit stinky (okay they still are stinky). I didn’t want to dive into a pool of orange streaks. But now that I’ve pretty much have the routine down pat, I thought I’d tell you what I know, so far.
Folks, it’s that final stretch of winter where we can almost see a glimpse of spring. I have a simple self-tanning hack that will bring your spring glow (not summer, ’cause we aren’t getting dark-dark here with this tanner hack).
All you need is a cream or liquid self-tanner (I favour the mousse formulas, but skip this for this tanning-hack), and your daily moisturizer. And gloves. Always wear gloves. That’s it.
Mix a dime sized amount of self-tanner with your moisturizer and apply to your face/neck. Repeat every morning until you start to see a bronzed tint appear, it doesn’t take long (a couple of days) for the colour to build up. Your end results end up being more of a subtle glow, and quite natural looking.
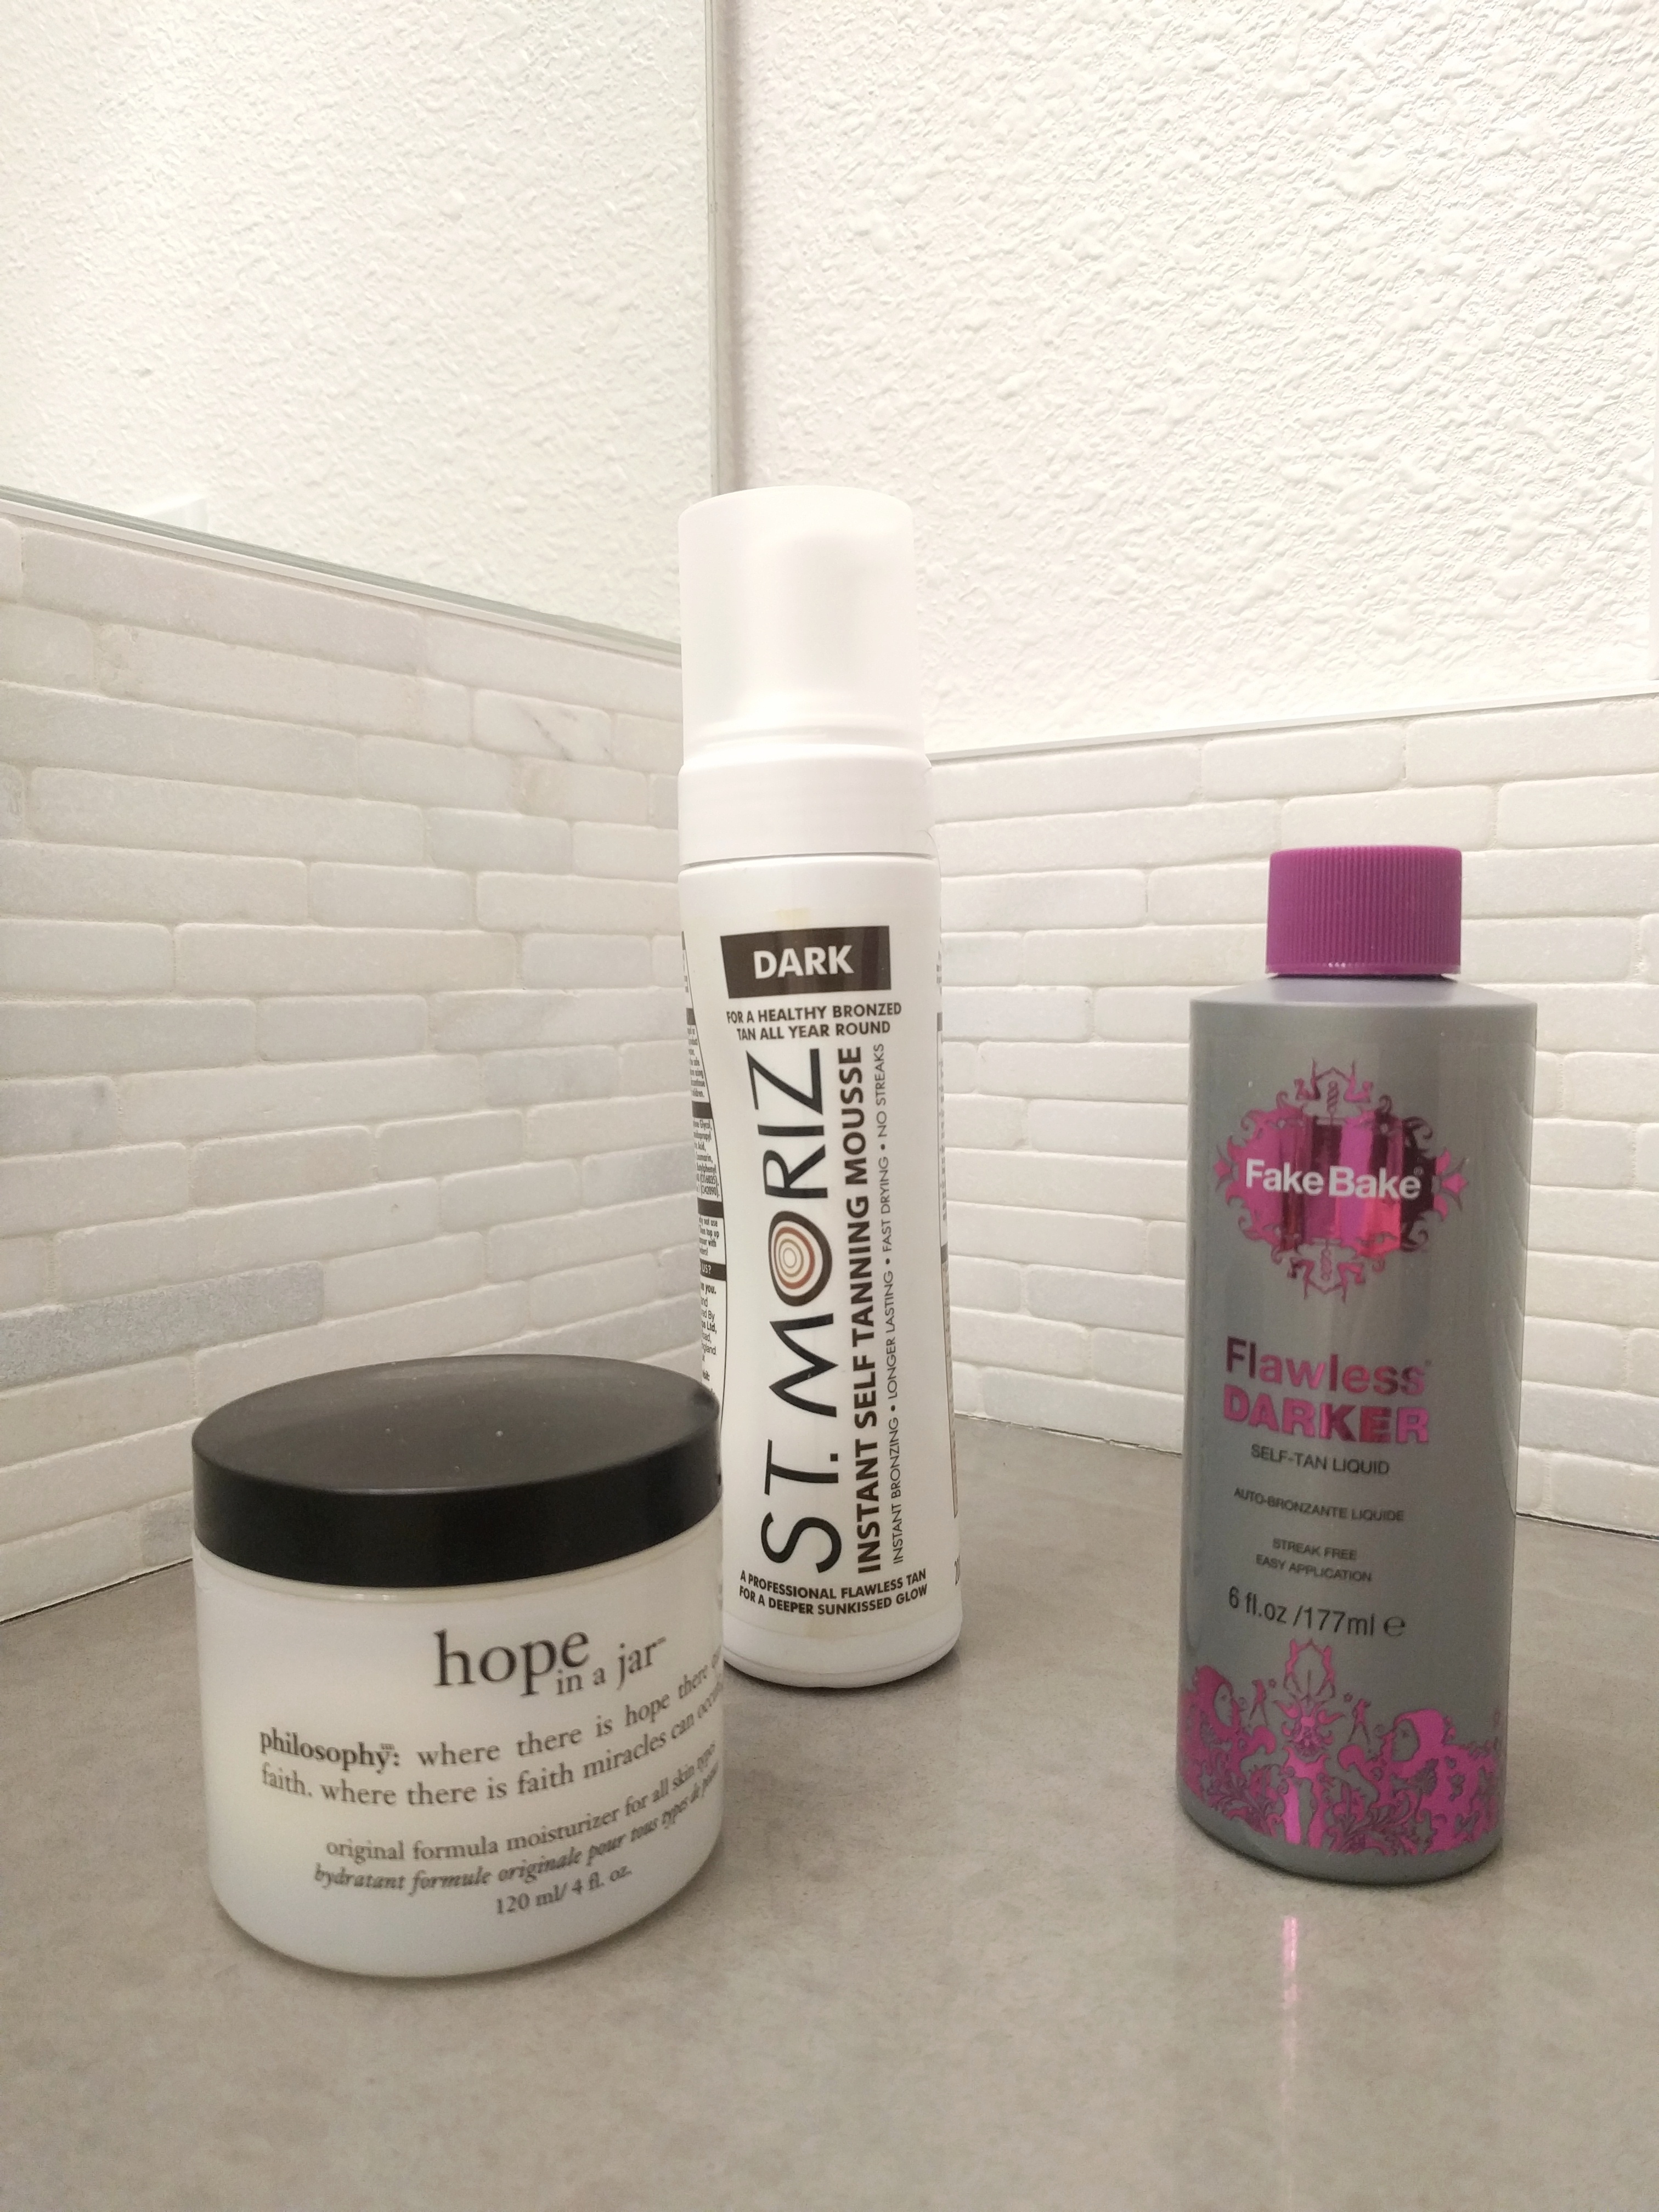 What tanner(s) do I use? I’ve been using these two in combination with one another for a few years: St. Moriz ($12)Â & Fake Bake Liquid ($32). Wait for an ULTA 20% off sale, and stock up then.
A bonus tip: during the hot summer months, consider storing your self-tanners in the fridge so they don’t go bad as quickly.
Hope this helps!