 As much as I love the California sun, and I’ve always said to people I’ve been born to live down in the warmth — I don’t love sitting out in the sun and baking my skin all day long. For one being the obvious skin cancer, and secondly I burn easily, and I get bored of laying out.
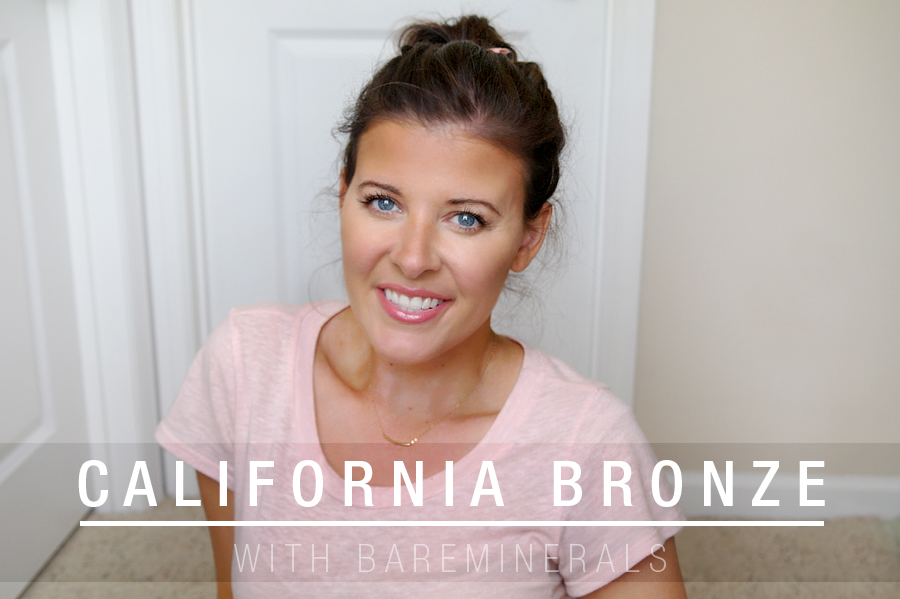
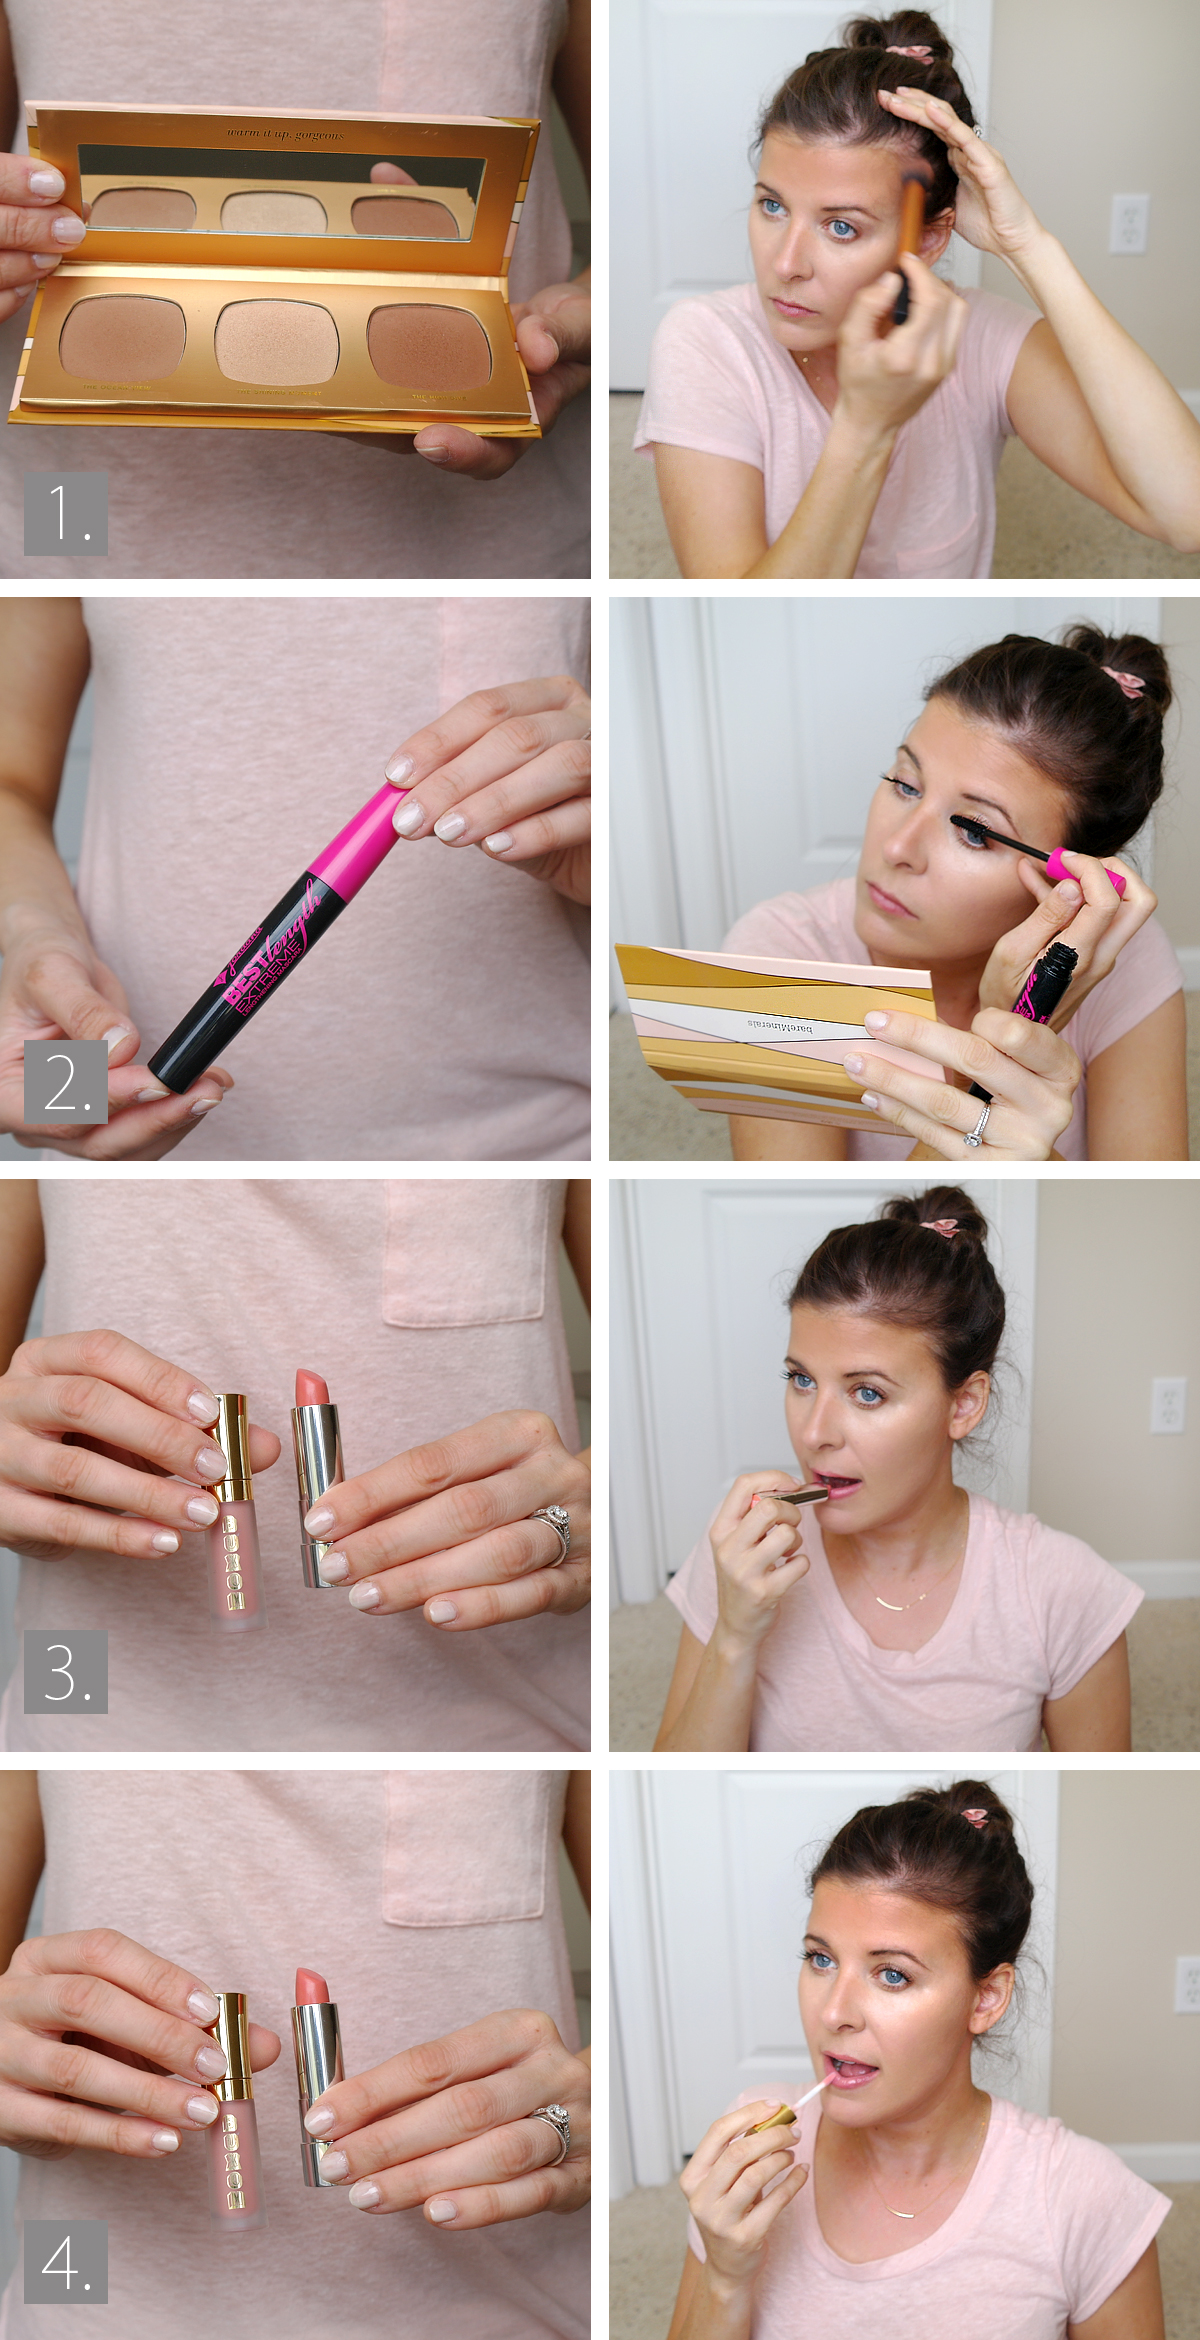
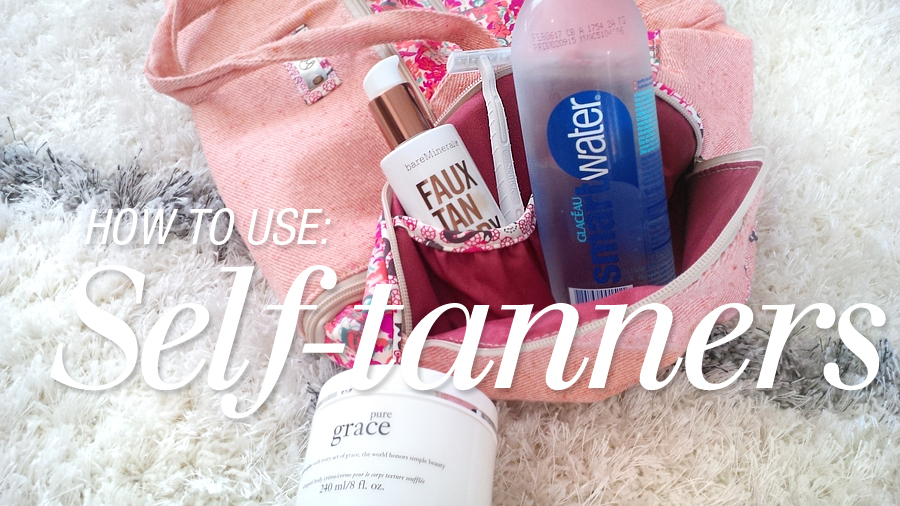
A couple of people in person asked me how I get so dark, when I tell them I use self-tanner, they’re almost always shocked at how natural it looks. So today I’m showing you, whether or not you’re super pale or already have a nice olive skin tone how to apply self tanner, and what tanners I recommend without sitting in the sun baking your skin with all those UV rays ruining and wrinkling your skin up!
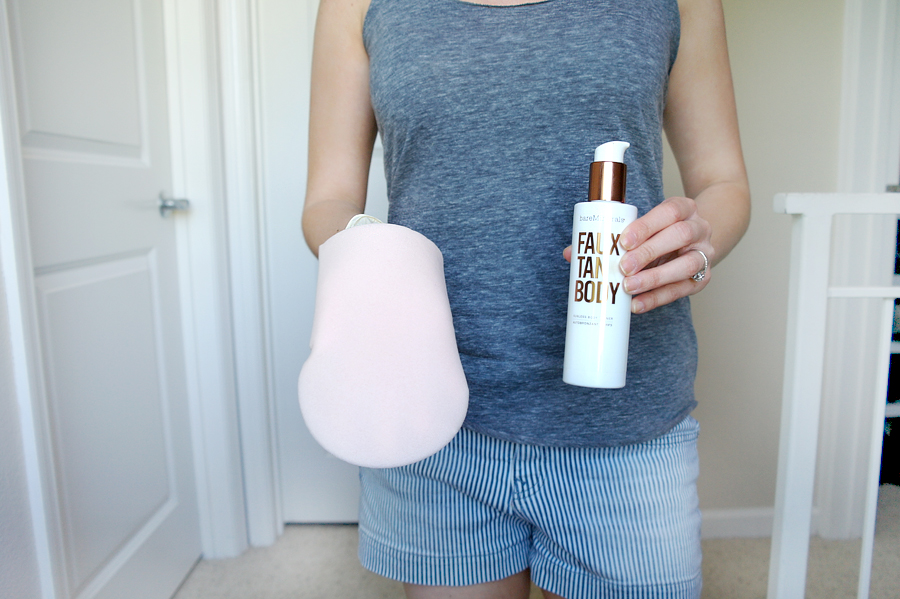
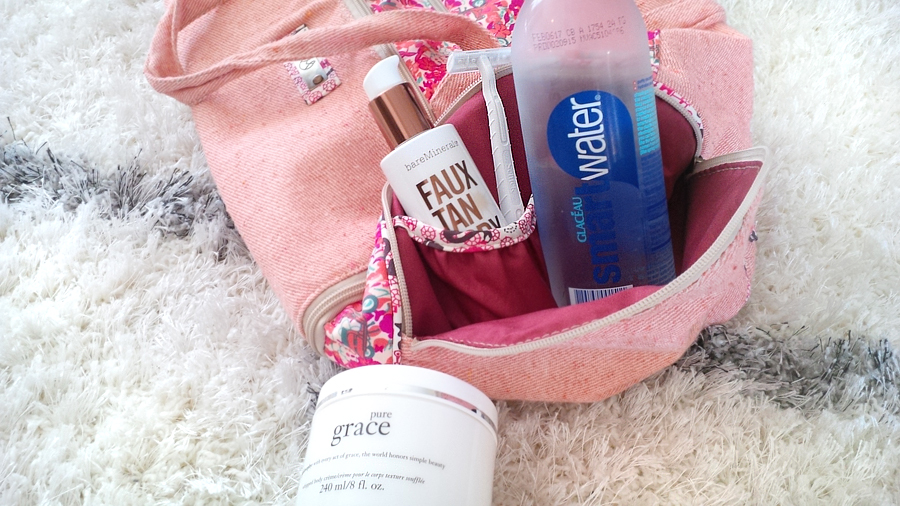
 I have a number of favourite self-tanners that I use (bareMinerals Faux Tan Body, St. Moriz mousse in dark, Fake Bake flawless darker, and finally Clarins Self-tanning instant gel + Liquid Bronze +  is what I used on my wedding day!). Everyone is different and prefers different brands. But for the sake of this review, I will be only using one self-tanner to keep things simple, the bareMinerals Faux Tan Body.
For the best and most natural looking tan you need to start off by preparing your skin before the application. I’ve been using a self-tanner for 5-ish years and I am always being complimented on how natural it looks!
Prep your skin:
 Exoliate in the shower
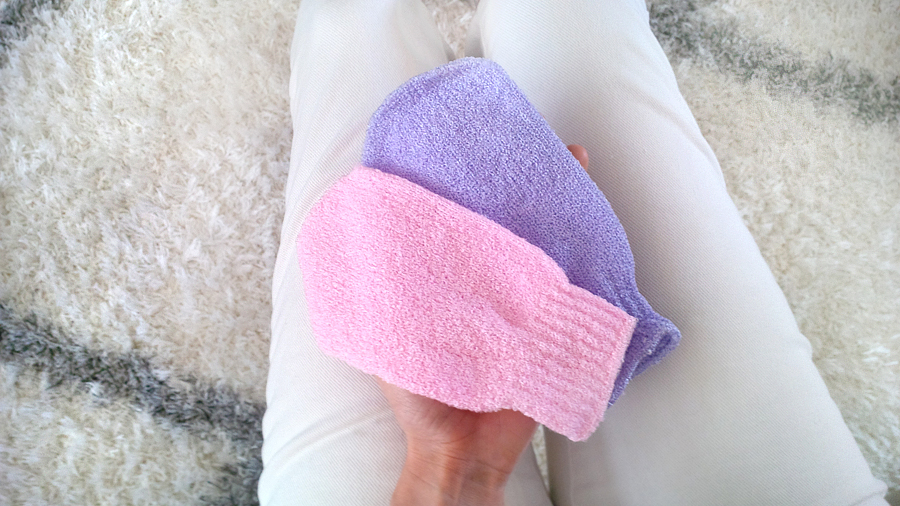
My skin is on the normal to dry side, so I want to scrub off all the dry dead skin before applying a fresh coat of self-tanner. I would suggest hopping in the shower to shave, then exfoliate your skin with an exfoliator mitt, and a body scrub without oil in it. Oil will hydrate your skin and leave it too moisturized therefore your tan will not stick on, and it will apply patchy!
Tip: I pick up my exfoliating mitts at the dollar store! No need to spend any more than a dollar on these.
 Apply moisturizer to stubborn dry areas
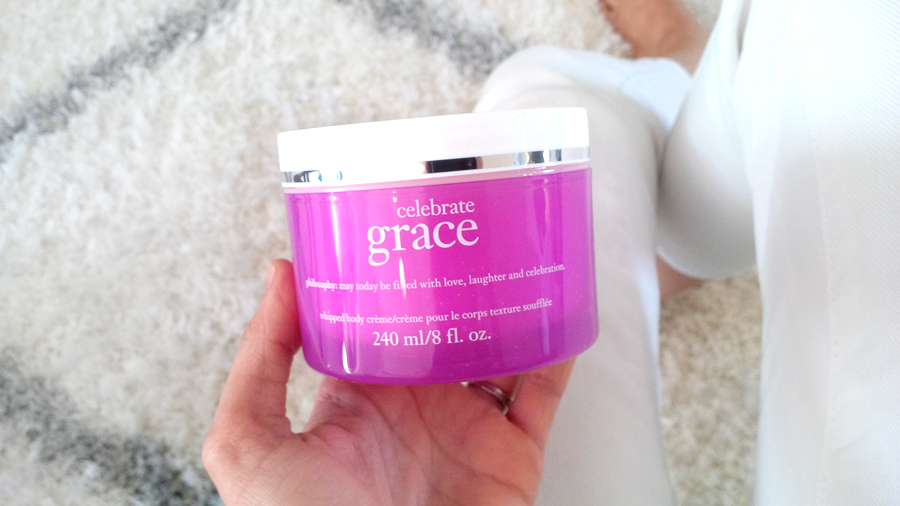
Once you’re dried off get out your thick moisturizer (I like to use body butters) and apply it to the tops and bottoms of your feet and in between your toes, apply more to your knee caps, and elbows.
Tip: I use either philosophy whipped body butter or lush’s dream cream
 Buy gloves and a tanning mitt
Since I’m scared about having the palms of my hands dyed, I like to use disposable gloves underneath the tanning mitts.
Tip: You can pick up disposable gloves anywhere, and I found that the tanning mitts are beneficial for an even tan — those can be purchased online (I get mine from eBay) or at Sephora, Ulta, Shoppers Drug Mart.
How to tan:
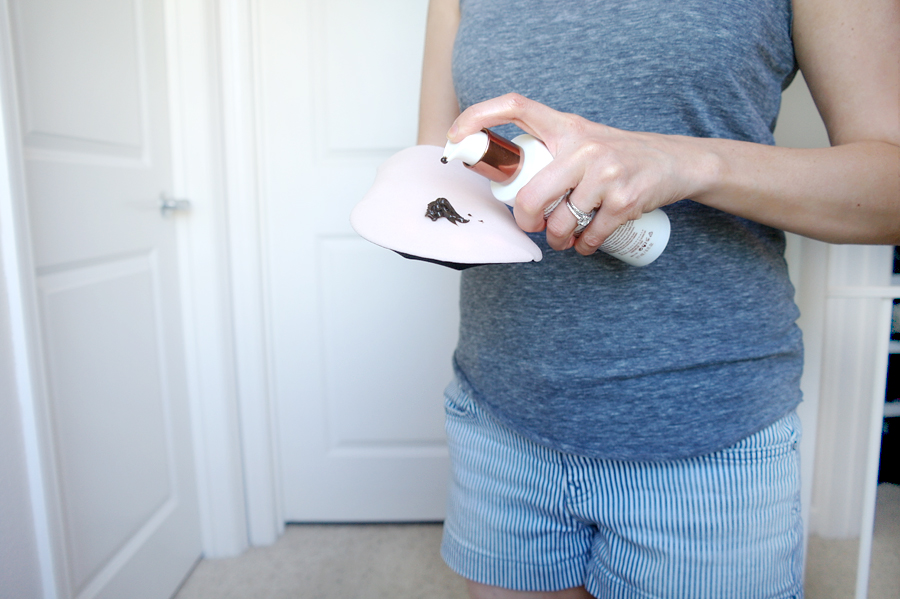
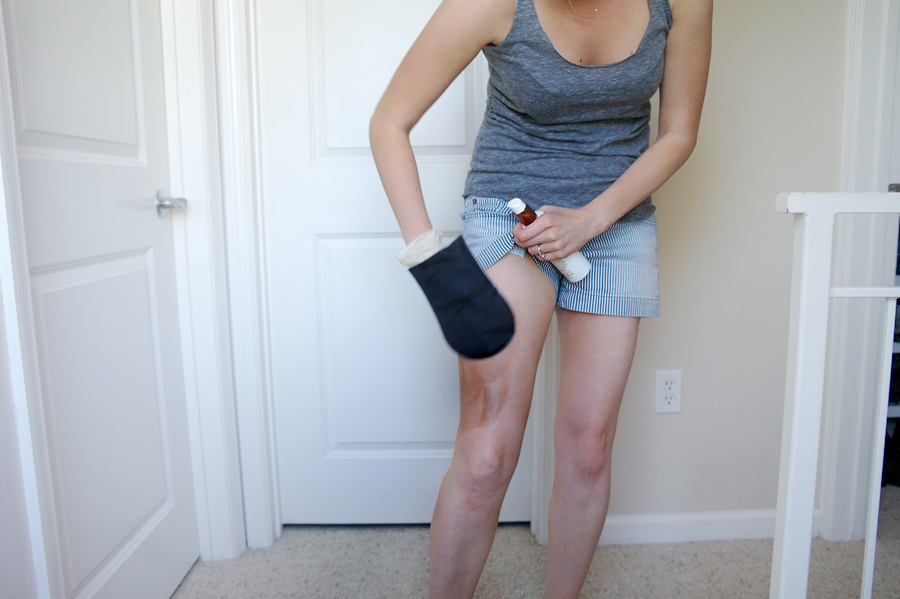
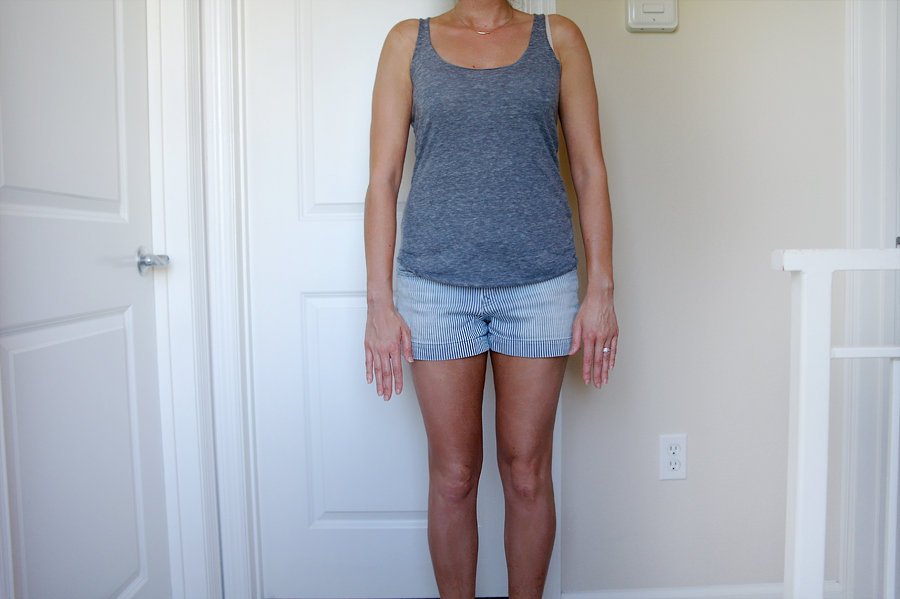
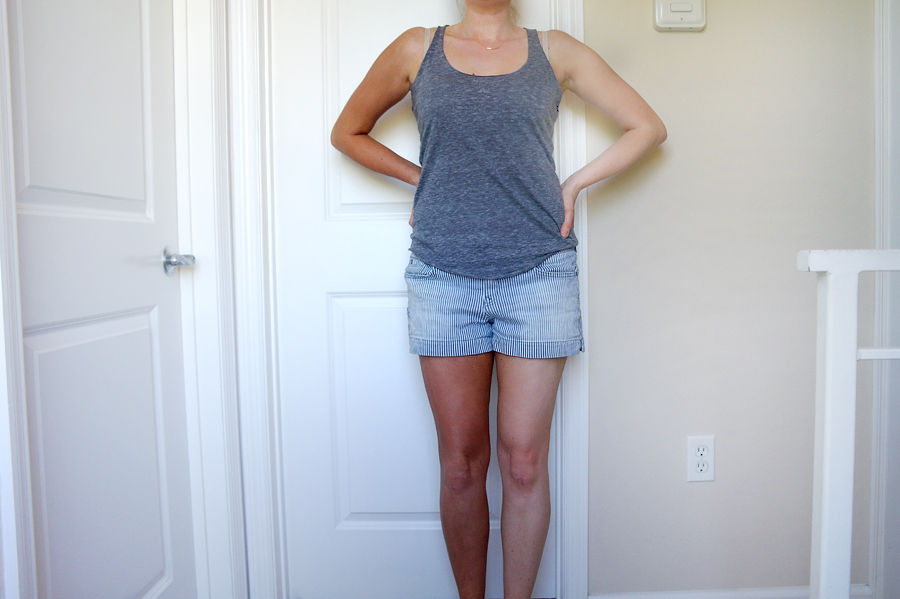 I prefer to work my way up the body in sections so I don’t miss spots. I either work in circular motions or in straight lines upwards/downwards. Use a full length mirror to make sure you didn’t miss any spots. To tan your back (it’s tough around the shoulder blades/spine area) ask someone to do it for you, or if your left arm is super flexible like mine, you’re grand. For the last picture shown above, I only did one half of my body so you can truly tell how dark it can get. I like to be extra dark, but you don’t have to apply as much tanner as I do. What’s great about self tanners is that you can go as light or as dark as you want, depending on how much product you use.
Tip: If you want to get extra dark for a special occasion, allow your self tanner to dry for the recommended 6-8 hours, then apply a second coat of another product (for this, I prefer to use Fake Bake’s product). Sometimes I just use this on my legs, or just on my chest area. It certainly makes a difference. If you don’t wait until your first layer is dry, you’ll ruin/streak the tan.
Leave feet/hands for last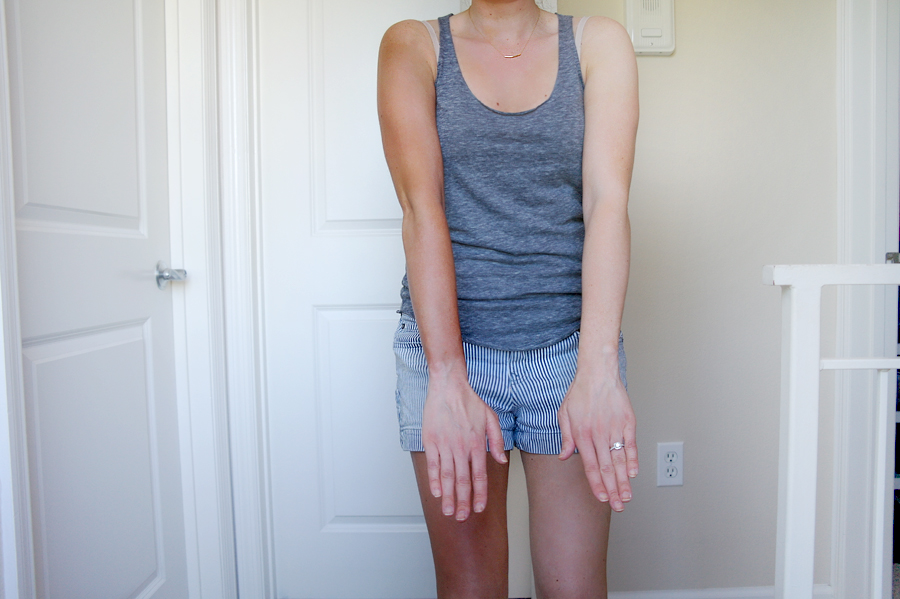 Toes/hands are the most difficult areas on the body to tan as that is where you can ultimately see what mistakes you made. Finally after a number of years, I have perfected how to apply self tanner to those areas without them looking unnatural. Here’s how!
- HANDS: With my rubber glove still on one hand (your left hand say), apply a bunch of hand cream to your right. Don’t rub it in the entire way. We’re going to act like the tanner is like a tinted moisturizer.
- You can either pump out thesmallestamountofproductonto your glove (not even 1/8th of a pump!), or put the tanning mitt back on. I do either/or:
- With the mitt, since it already has tanner on it, lightly sweep over your hand. Make sure your hand is in a ‘claw’ shape so you don’t miss the creases.
- Or, with the disposable glove, I feel like I have more control and it’s like I’m using the tips of my fingers to rub it in, and get it all even.
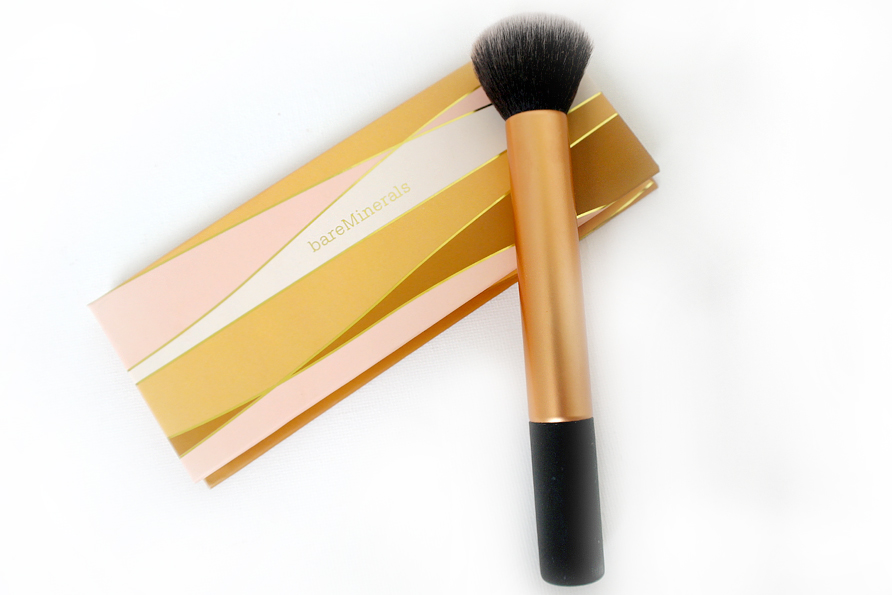
- Even better tip: apply a small amount of tanner to a makeup brush and blend it in. It applies seamlessly!
- Once the tanner is applied to your hands, grab a tissue and go over the stubborn areas and wipe them off! I always wipe off my tanner on my knuckles, nail area, otherwise I feel like it gets too dark.
- Same goes for the wrists, make sure you don’t apply too much, and make it flow to your hand in a gradient so to speak, so it looks natural.
- FEET: Gosh, these are always the worst to do. I apply it the same way, but you really need to take your time doing it. And make sure you have tons of lotion on, not all the way rubbed in. I mean, coating it. It’s going to look ridiculous and you’re going to second-guess me,  but trust me on this. You don’t want orange feet. I don’t really do the back part of my ankles/heel since you’re putting so little tanner on your feet, you don’t need to put it there (as much). Follow the same steps as on your hands, but be more cautious and use a tissue to wipe a lot of it off, especially if you’re going to be wearing sandals. Damped the tissue and run it along the base/side of your foot if you’ve applied too much, again—we’re going for the gradient look here, not a stark tan. If you think you’ve applied too little, stop. You’ve applied just enough. I’ve made the mistake of going back in and re-applying thinking I was going to be too light.
Wear loose clothing and allow your tan to dry
 Stay naked for as long as you can, or until the tanner dries, about 15 minutes. I tend to do this at night time when I’m getting ready for bed.
Tip: Wear loose dark clothing – the guide may leave marks on your lighter clothes but it will wash out.
Wash the guide off in the morning
A self tanner usually has a guide so you know where you’ve applied your tan. You need to wash it off in the morning and then you’re left with a tan for about 5-7 days.
Self tanners I recommend
 Yes, I use all the self tanners listed below on my face, with no issues. Tip: If you’re more comfortable with sunless tanner, try layering them to get a deeper colour. Once summer hits, I apply my first coat of self tanner and apply a second brand 4-6 hours later and I’m SUPER dark. If you apply too soon, the colour will streak.
bareMinerals Faux Tan Body ($26USD / $32CDN)
Pros: Although I listed this as a pro, I love how quick it dries, and I don’t feel sticky afterwards. You do have to work at a faster pace than if you were to use mousse sprays. It has a really nice smell (like a food, but I can’t put my finger on it. Apple?). It feels moisturizing when blending it into the skin.
Cons: It dries quickly, so I wouldn’t recommend this to people who are new to tanning. Although, if you’re concerned about that I would recommend you mix it with your moisturizer for a lighter glow. So don’t miss out on this product simply because of the drying time.
St. Moriz mousse in dark ($8.13USD)
Pros: The cheapest self-tanner I’ve used, and the one I reach for the most.
Cons: If this even counts as a con, it’s rarely sold at Ulta, and so I have to buy it on eBay and it takes a few weeks to get in since it comes from the United Kingdom.
Clarins self-tanning instant gel ($37USD /$37CDN)
Pros:Â Smells good, doesn’t leave a sticky residue and is relatively available at many stores.
Cons: If you use too much you will turn more orange, so you have to be cautious. It also applies clear so it’s easy to miss spots.
Fake Bake flawless darker ($30USD at Ulta but $13 on Amazon!)
Pros:Â Excellent for layering. It has a fine mist and a nice reddish undertone so it’s mimics an authentic tan.
Cons: I don’t like to use mists (I find that it’s a bit messier). Other than that, it’s definitely in my top 3 of must-buy tanners.
Prolong your tan
Simple and to the point, to prolong your tan make sure you moisturize every day. If you notice it is wearing off and want to remove the rest, hop in the shower and exfoliate and start the whole regimen all over again :)
 Disclaimer: I asked to the PR company if I could review the bareMinerals faux tan body because I am a fan of self-tanners and wanted to try this one out.Â