Absence certainly does make the heart grow fonder. I don’t get to see too much of The Guy, because during the week day of course I’m home alone as he works — but we both have our own fitness schedules. He has to train for his upcoming triathlons, and I’m always climbing, going to the gym, or doing yoga. The only time we truly get to spend together is on Saturday and Sunday, and this past weekend I headed off to BlogHer’14. It was a great event, but I definitely missed my husband. How cheesy do I sound right now? Tell me. C’mon.
I have a boat load of photos to show you from the conference, so instead of writing about it, I’ll show you mainly in photos with a sentence or two underneath each picture. That’s cool, right?
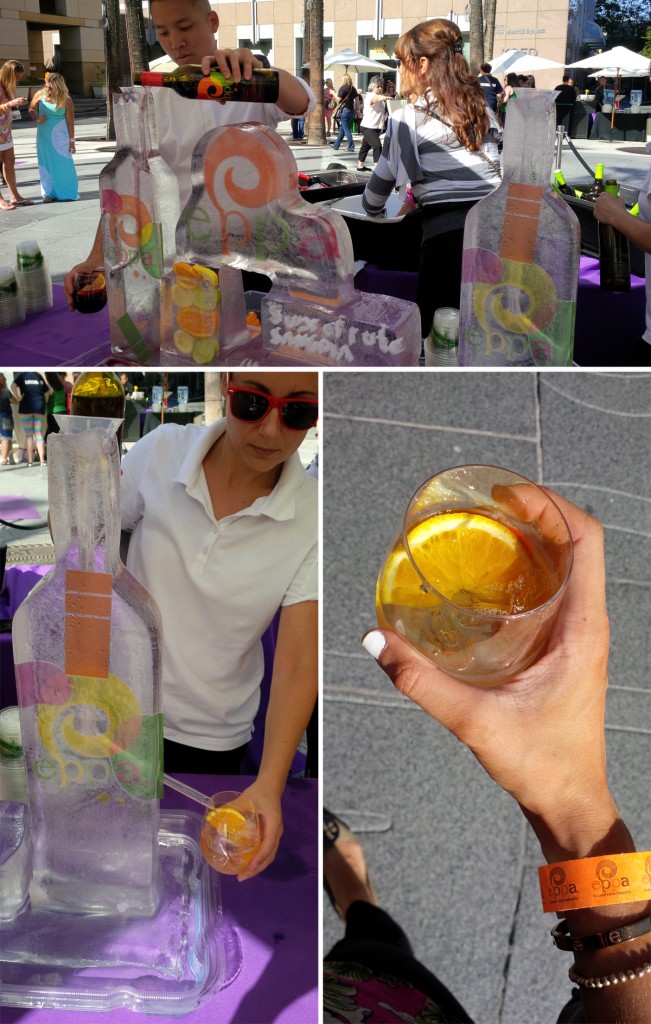 Eppa sponsored a yoga and sangria event outside the San Jose Museum of Art. White sangria is tasty.
 Whole Foods sponsored a bit of cheese, crackers and nuts. Also got a ton of Soybu hair ties. These ribbon hair ties are the best, so I got as many as I could.
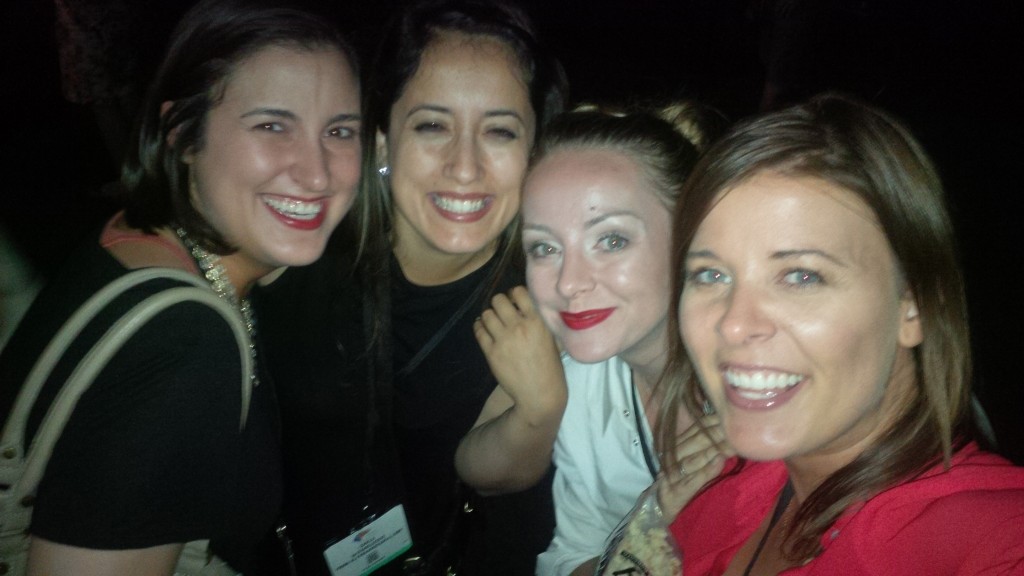
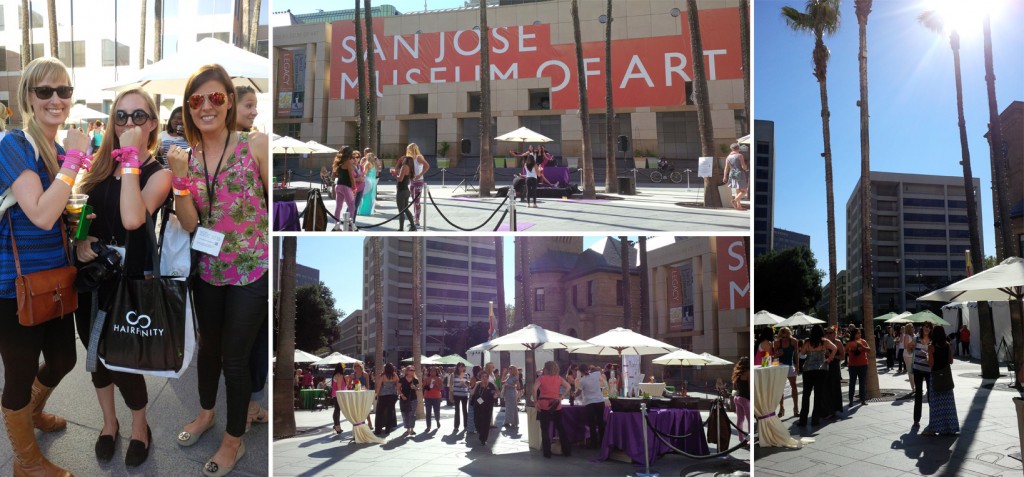 Sarah, Jessica and I showing our hair tie arm party. The event was hosted outside the San Jose Museum of Art, so it was a pretty nice area, downtown.
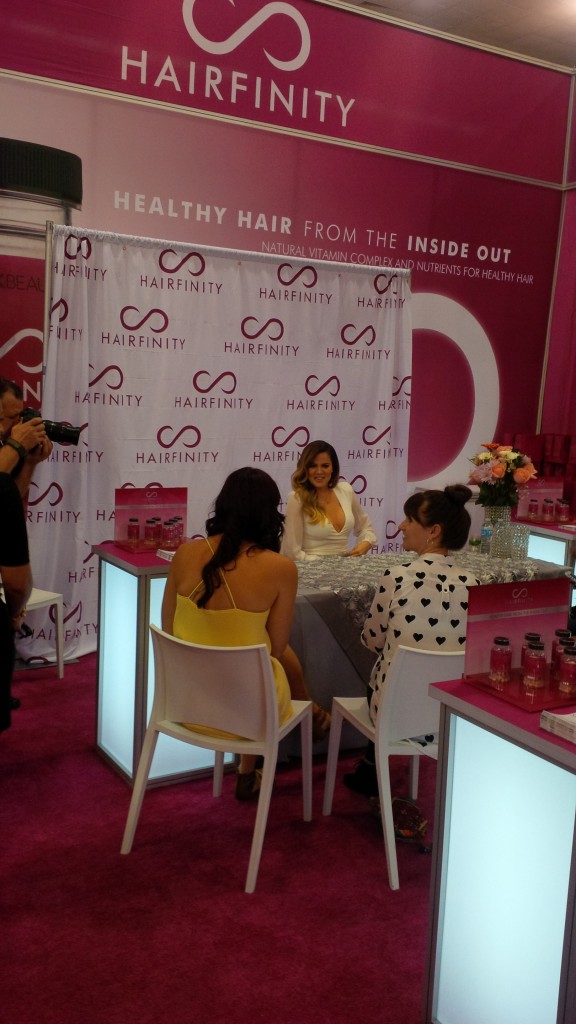
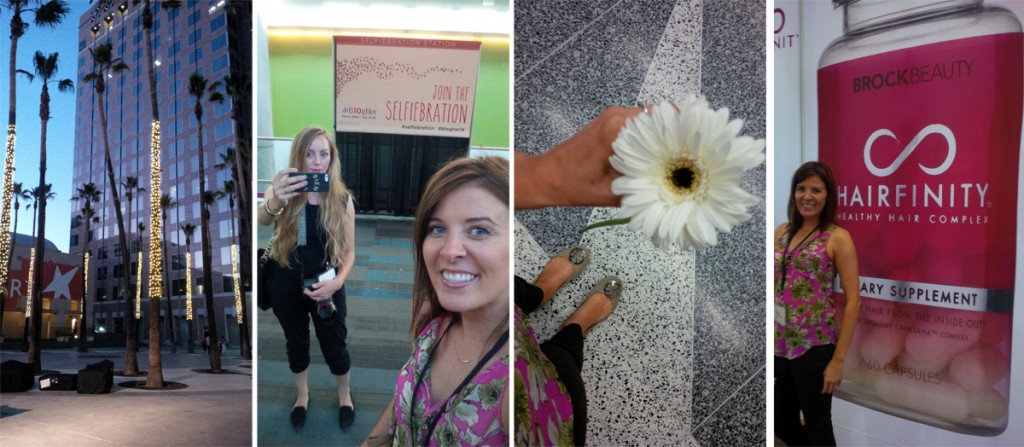 San Jose palm trees lit up. Photoboming Jessica’s selfie. A flower given to me by Yoplait. Hanging out in the Hairfinity booth.
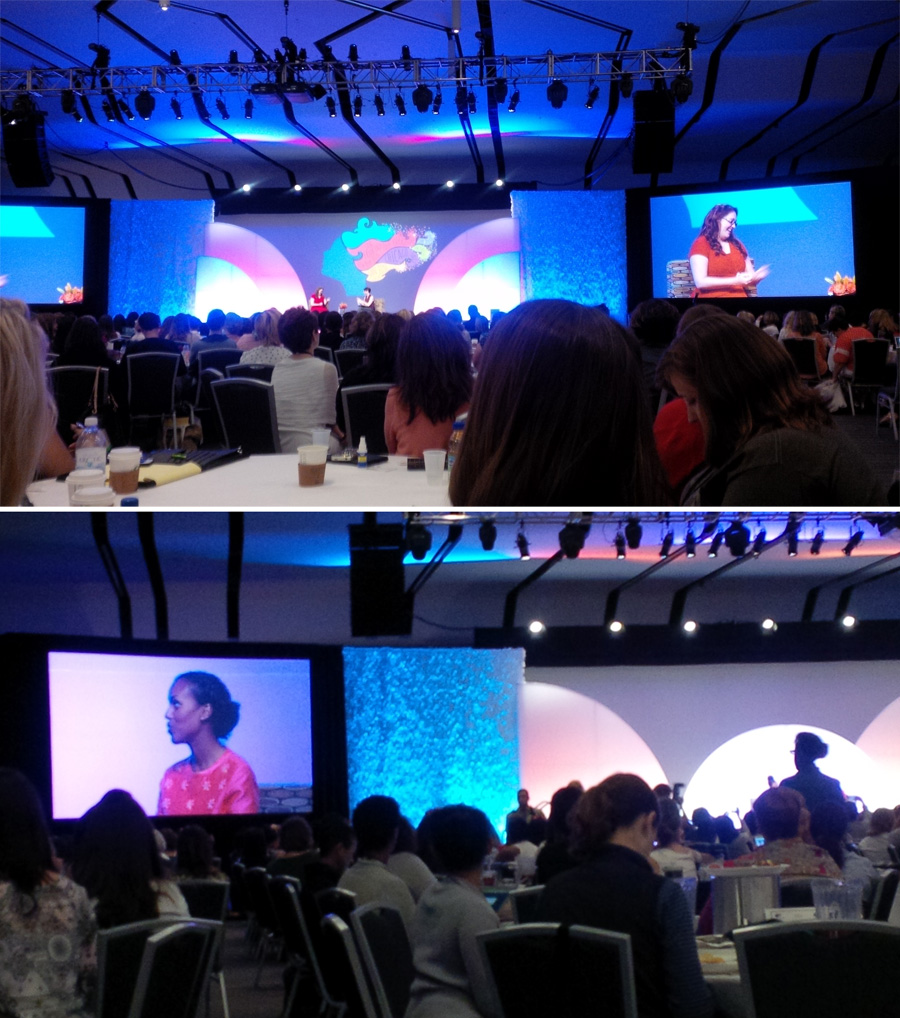 Saw some famous people: Blogger – Jenny Lawson from The Blogess, and Actor – Kerry Washington.
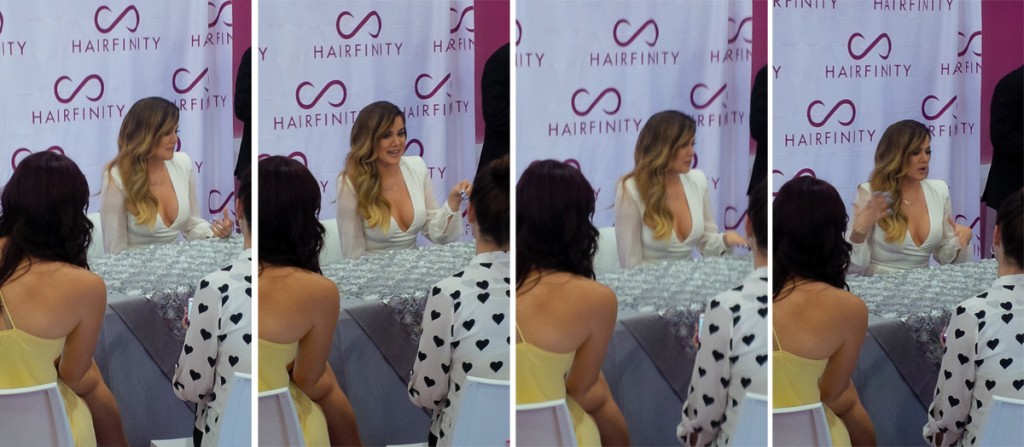 Oh. Khloe Kardashian too, that was cool.
 I was pleasantly surprised at how small she was. Tabloids must photoshop her larger, because she wasn’t bigger than me by any means. I didn’t line up for a photo with her, as I’m not a huge fan or anything. But still wanted to take a snapshot of her. I mean, she IS famous afterall.
 Truthfully, I’m more excited to see people I’ve made friends with throughout the conference. Including Dan, from Jersey. Having someone you can talk to, connect with, laugh and crack jokes with is far more fun.
 I found my Canadians! Julie, Tiffany, Me, Christine and Sarah.
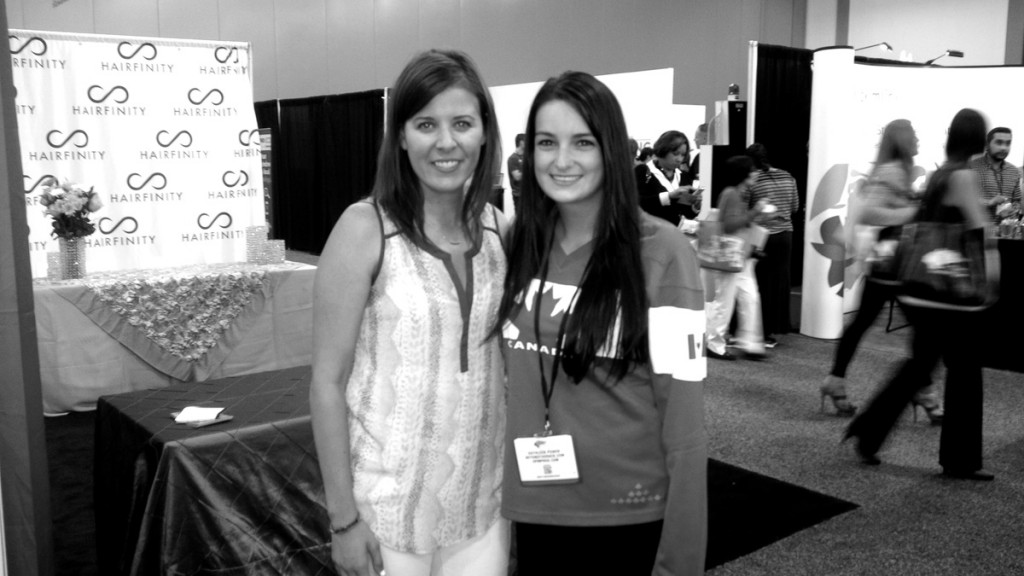 More Canadians! Katie and I had a ton in common. Both lived out east (Her in Halifax, I’m from Newfoundland), both lived in the same area of Waterloo, Ontario. I mean – in 2010 we were living one street away. I know. Get out of town. Small friggen world.
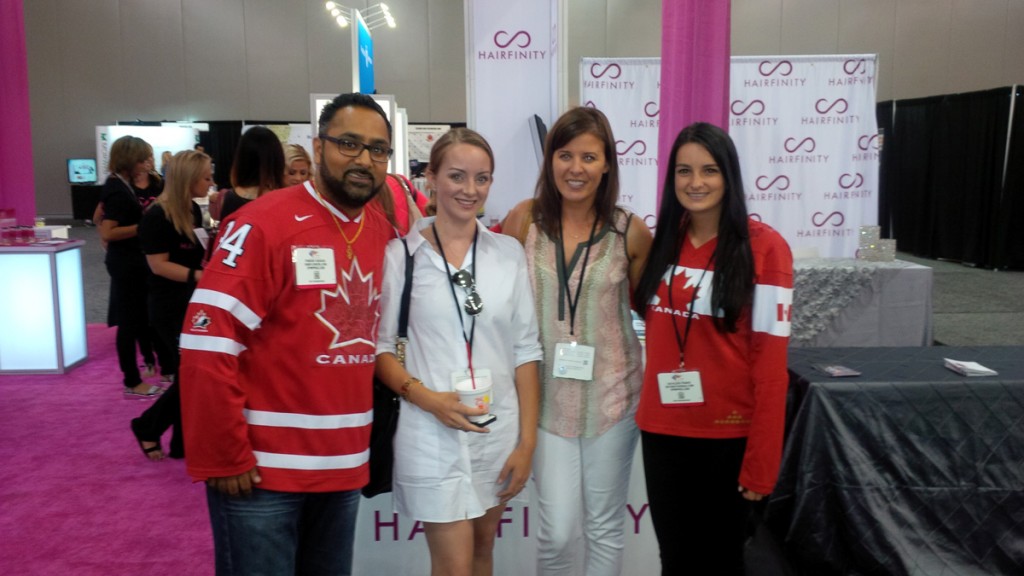 And Katie’s colleague, who is also a Canadian who I forget his name. I do recall it begins with a P. I get so excited when I see people from back home, even if we only met!
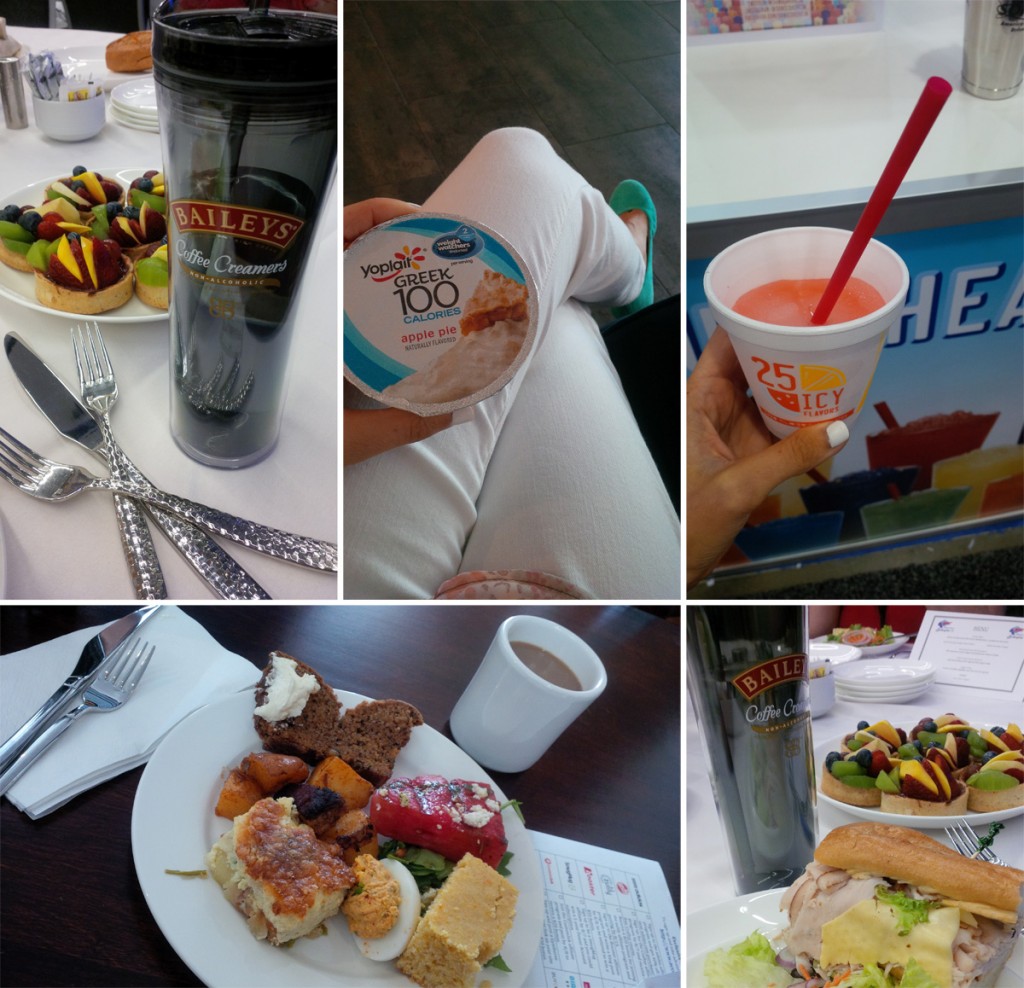 Some of the food I ate at BlogHer. You wouldn’t believe how many times I went back for a slush from Sonic. I won’t tell.
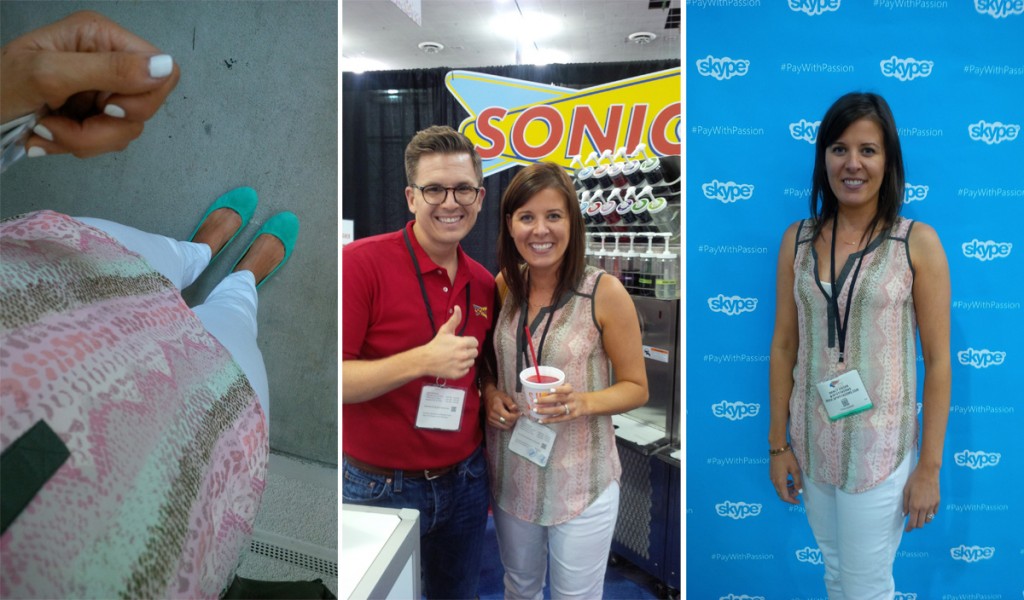 My outfits for one of the days. Sonic guy and I. Smiling for Skype.
 BlogHer’14 is in its tenth year, which calls for a Selfiebration. The theme of the conference this year.
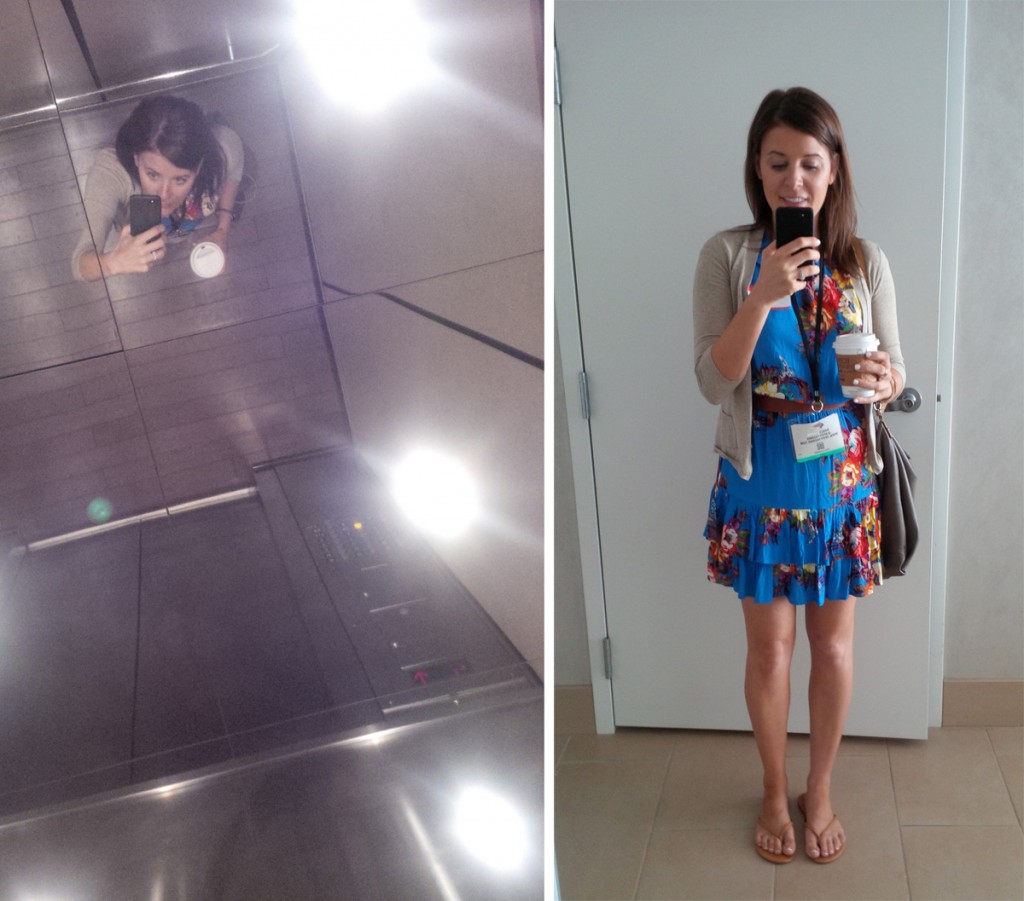
 I felt fancy. I’m excited to bring you a blog post soon, about my outfits I wore to BlogHer.
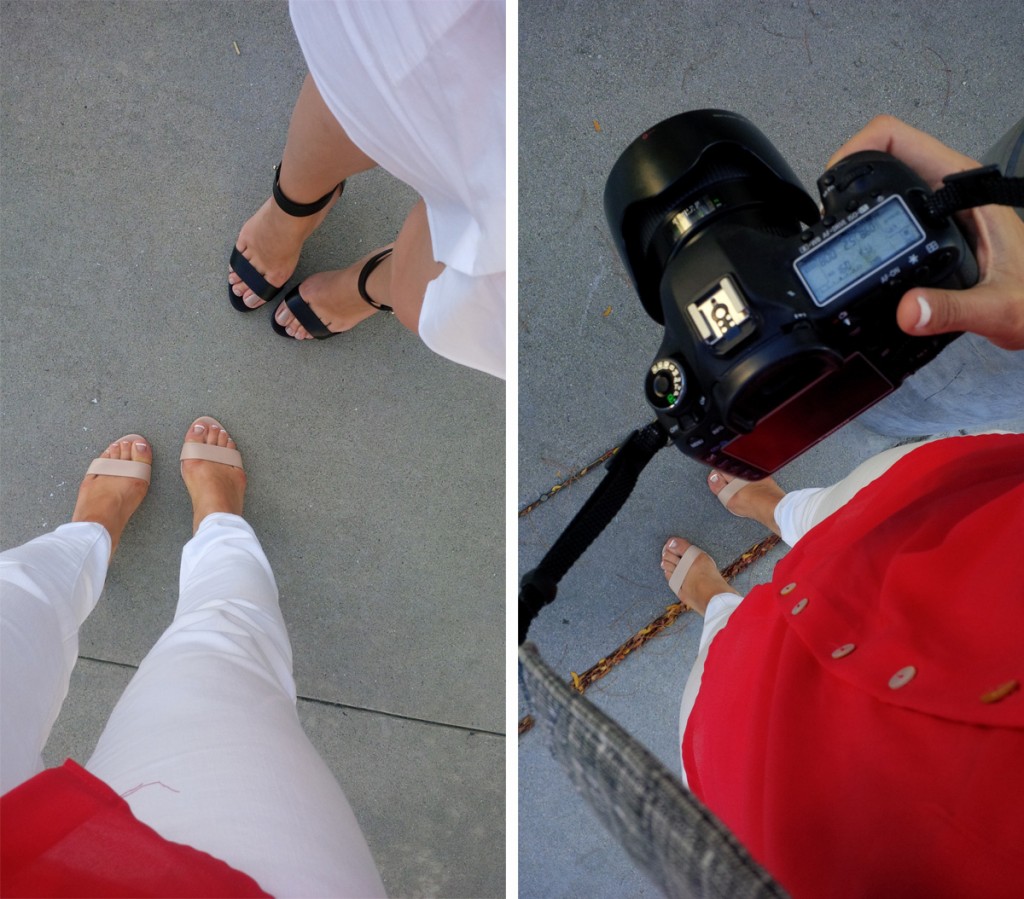 Took photos of Jessica too, along with our matching shoes.
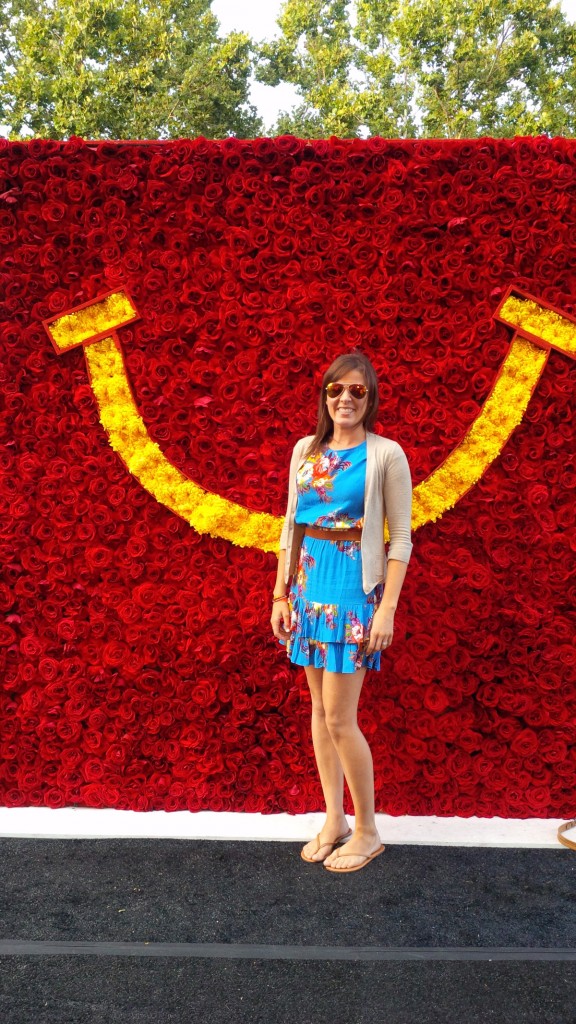 McDonalds sponsored the closing party. Happy Meal face made out of roses? You betcha I was excited about this.

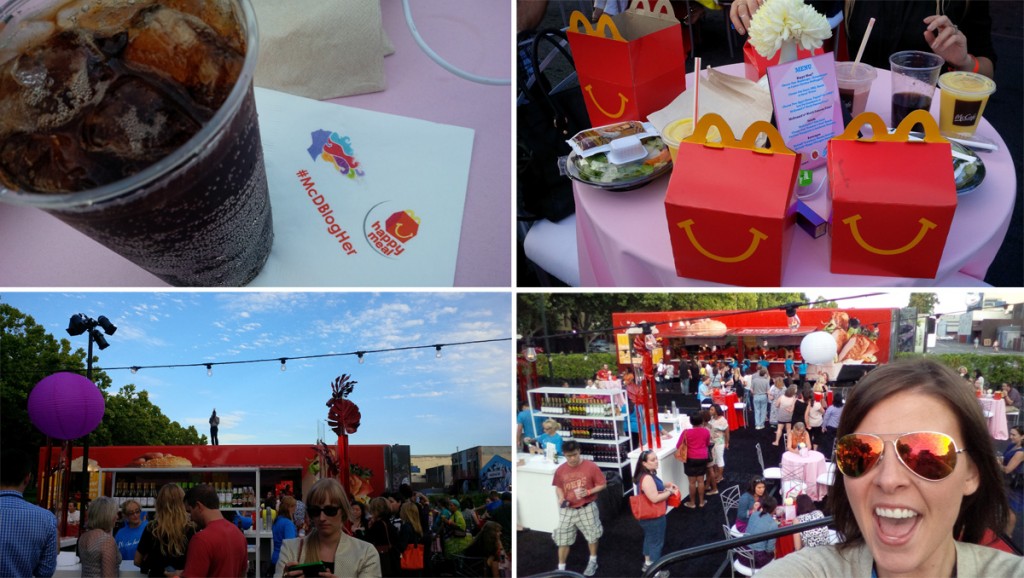 Yes, I may have had more than one McDonald’s Happy Meal. I love McDonalds!! I’m yelling that out in the last picture.
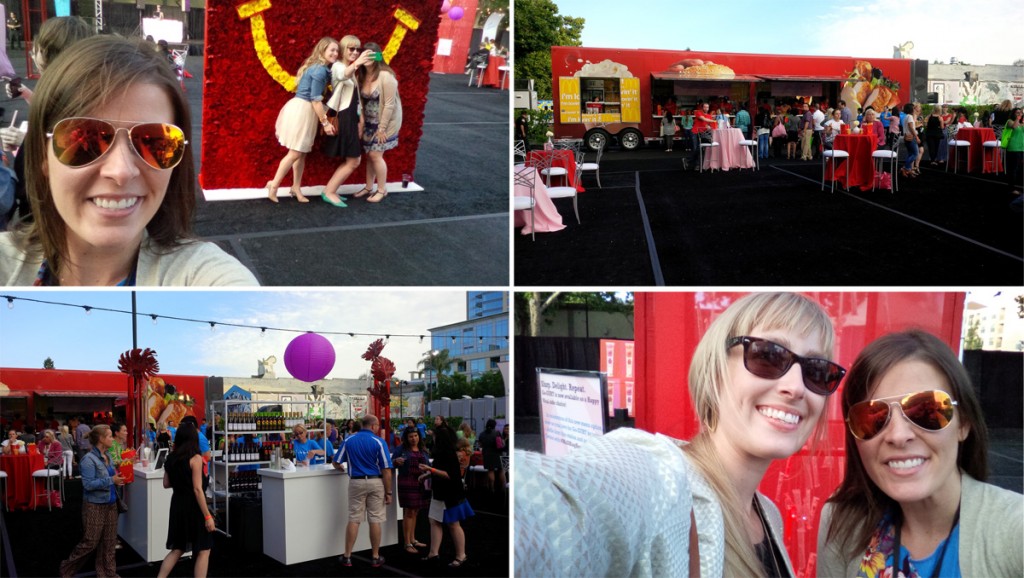 Photoboming Kelly, Sarah and Marissa‘s selfie. McDonald’s food truck x2, then Sarah and I posing again.
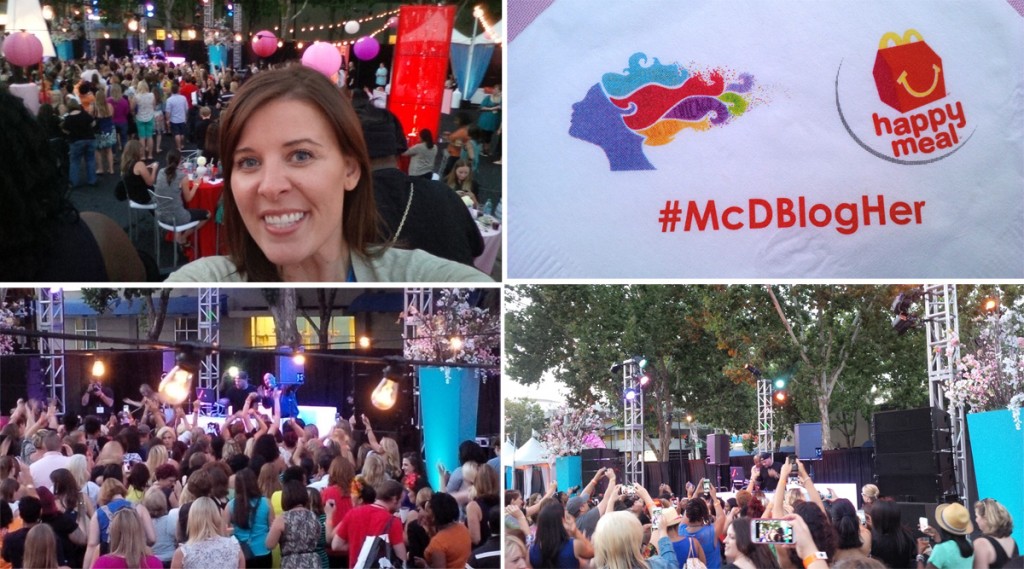 Rev Run from Run DMC DJ’ed, taking us back to the 80’s and 90’s.
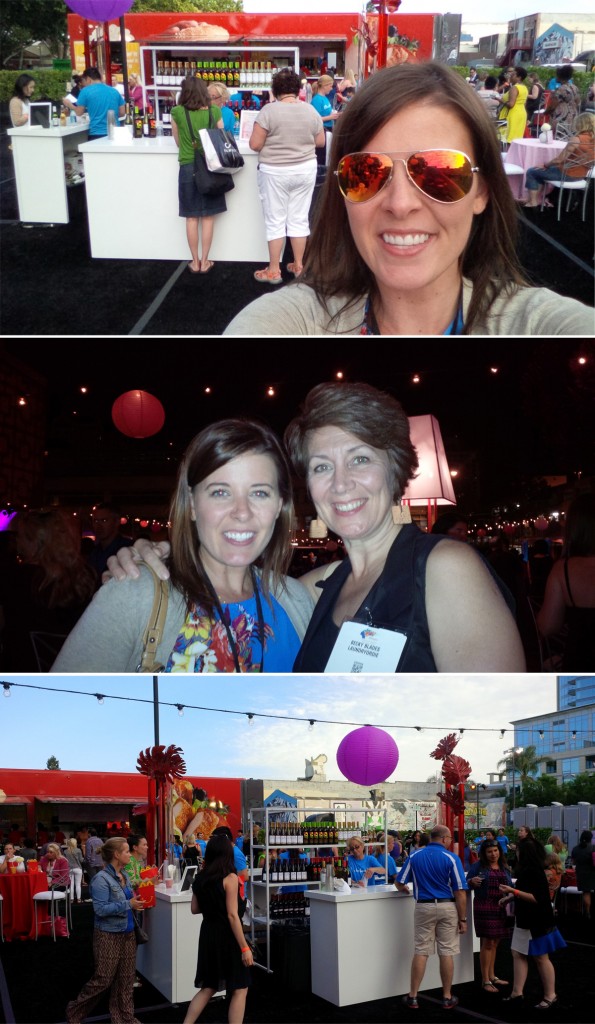 Meeting new friends, thanks to McDonalds.
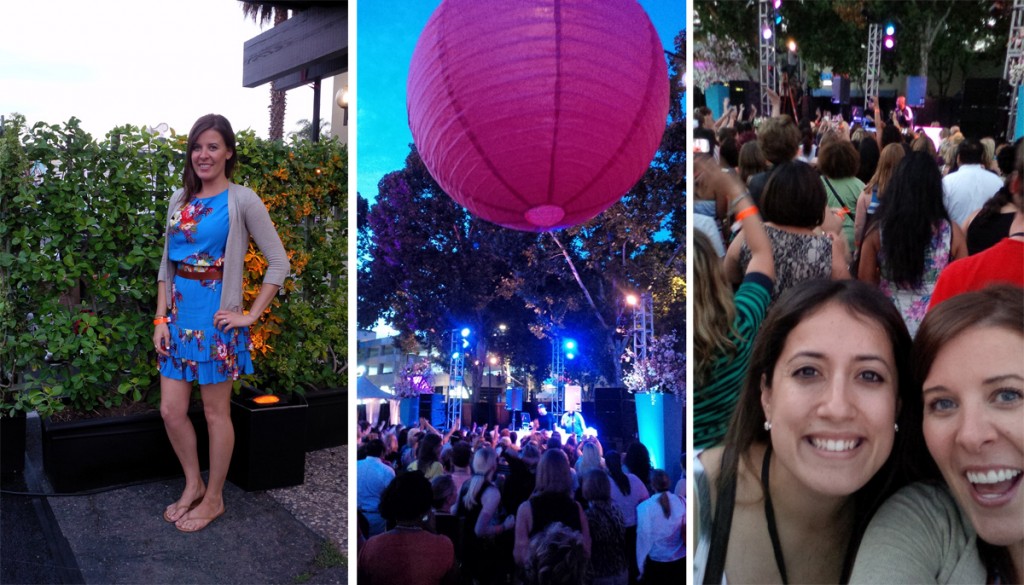 Modelling my new dress. Decorations. Carla & I (who I met at the Blog Party a few weeks ago).
 Jessica and I enjoying Rev Run DJ’ing.
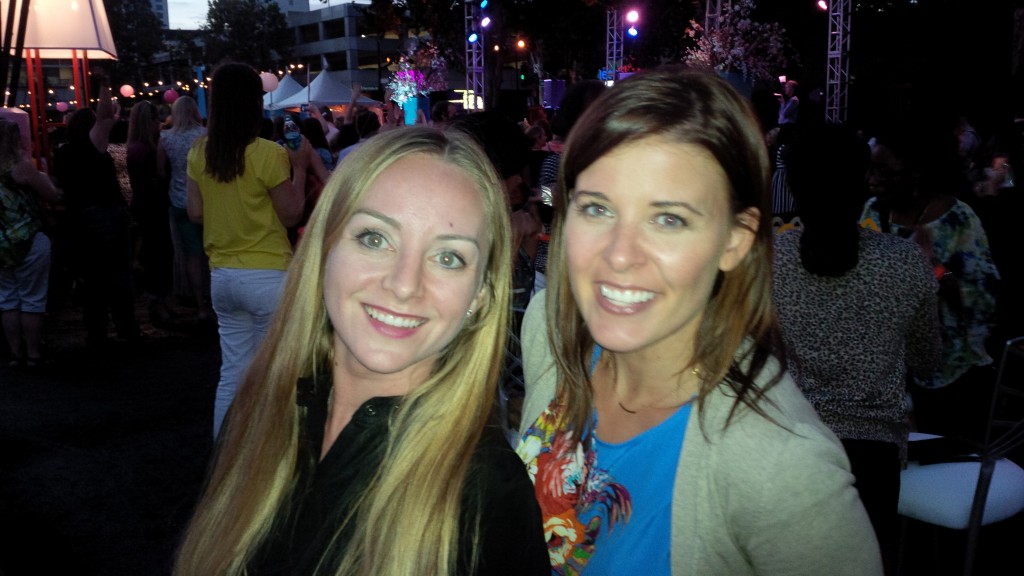
 New blog friends Sarah, Kelly, Karen, Carla, Ashley, Alyssa (who lives in Tokyo!) and Jessica.
Alyssa and Carla, Jessica and I.
BlogHer’14 was a fun, and I’m so glad I met a few more local bloggers, network with companies, oggle at celebrities, and explore new-to-me products.
This post was created in partnership with McDonald’s. All thoughts and opinions are my own.
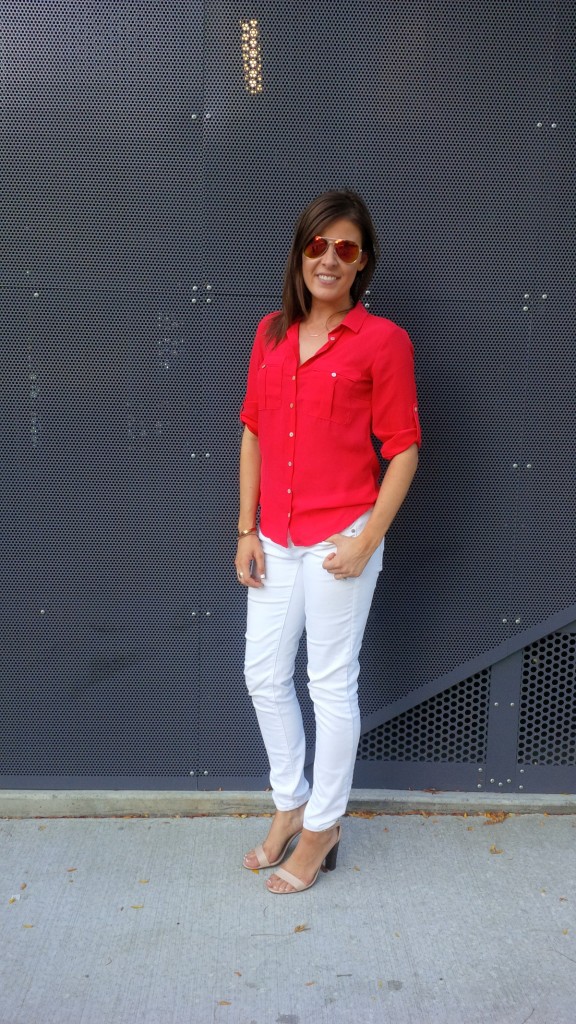
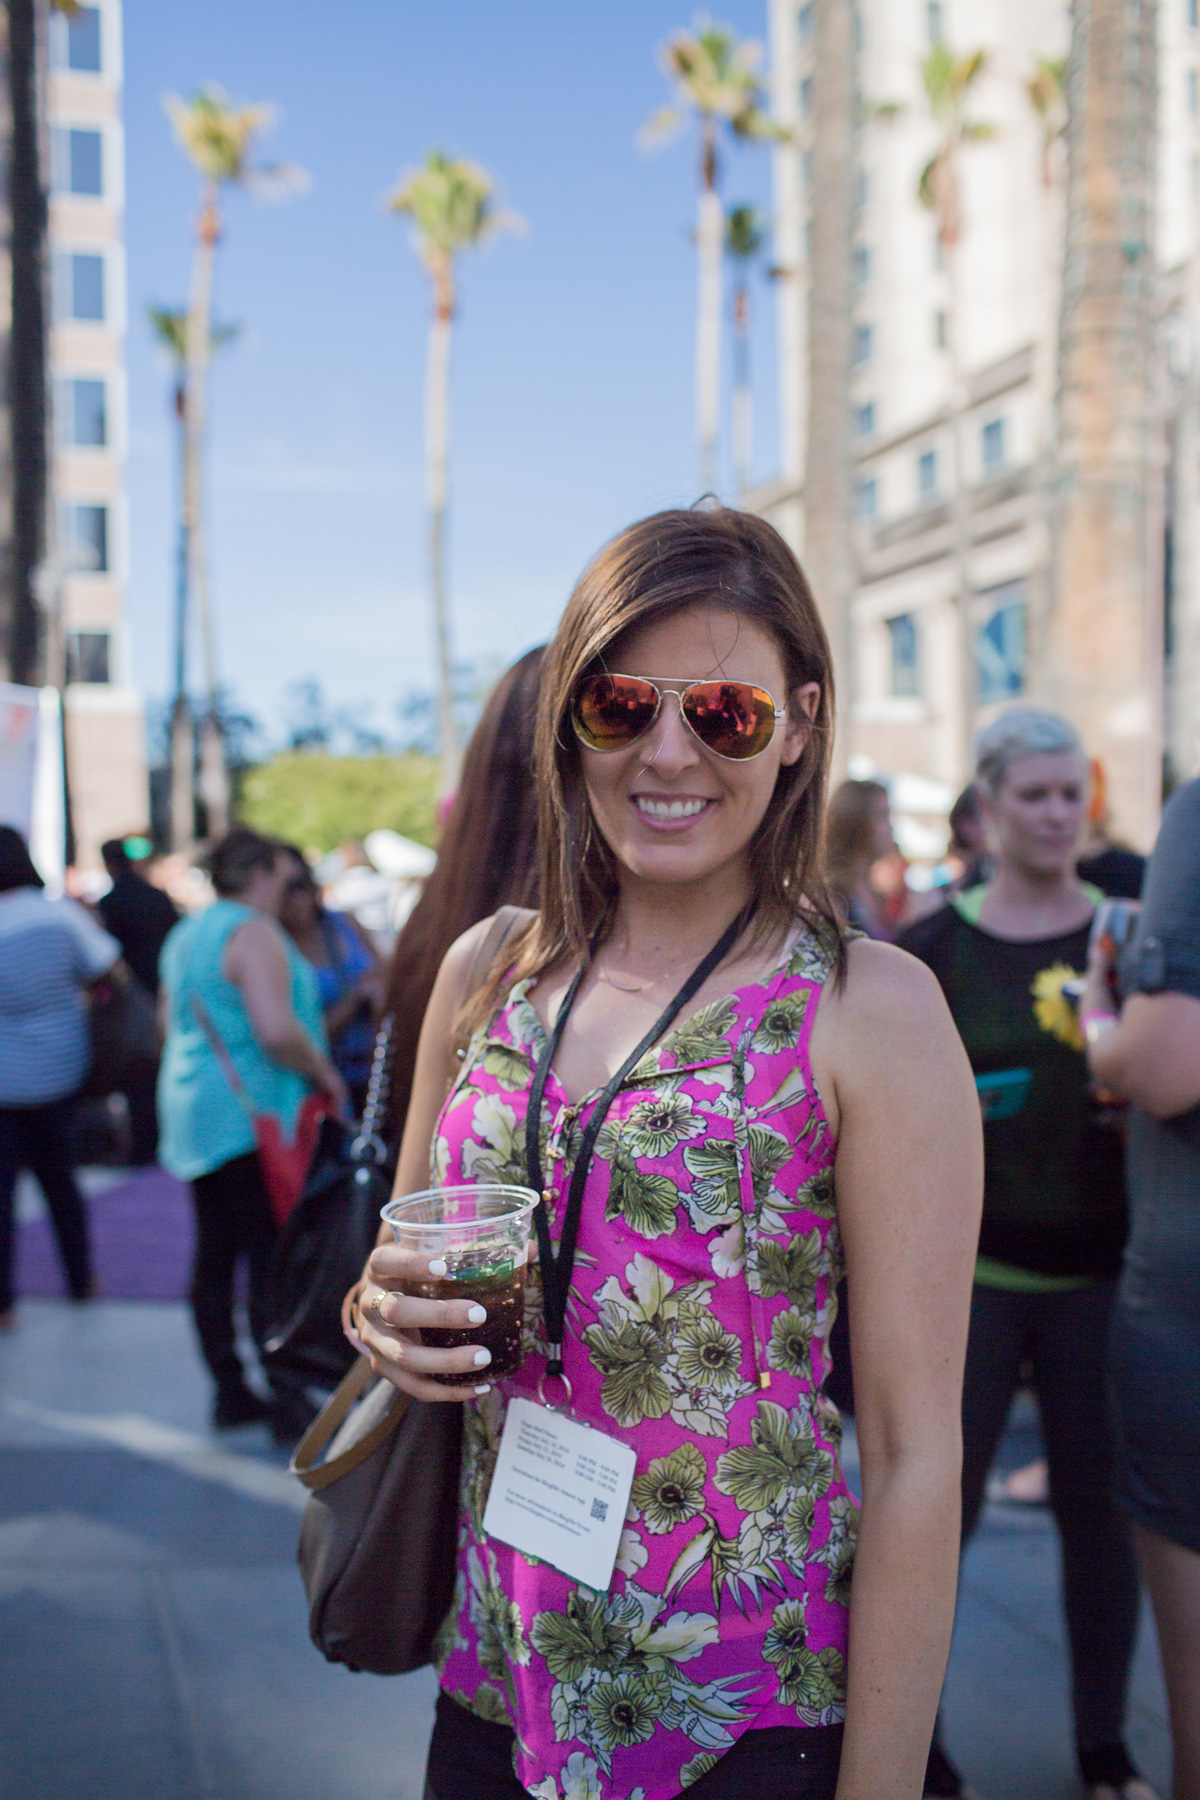
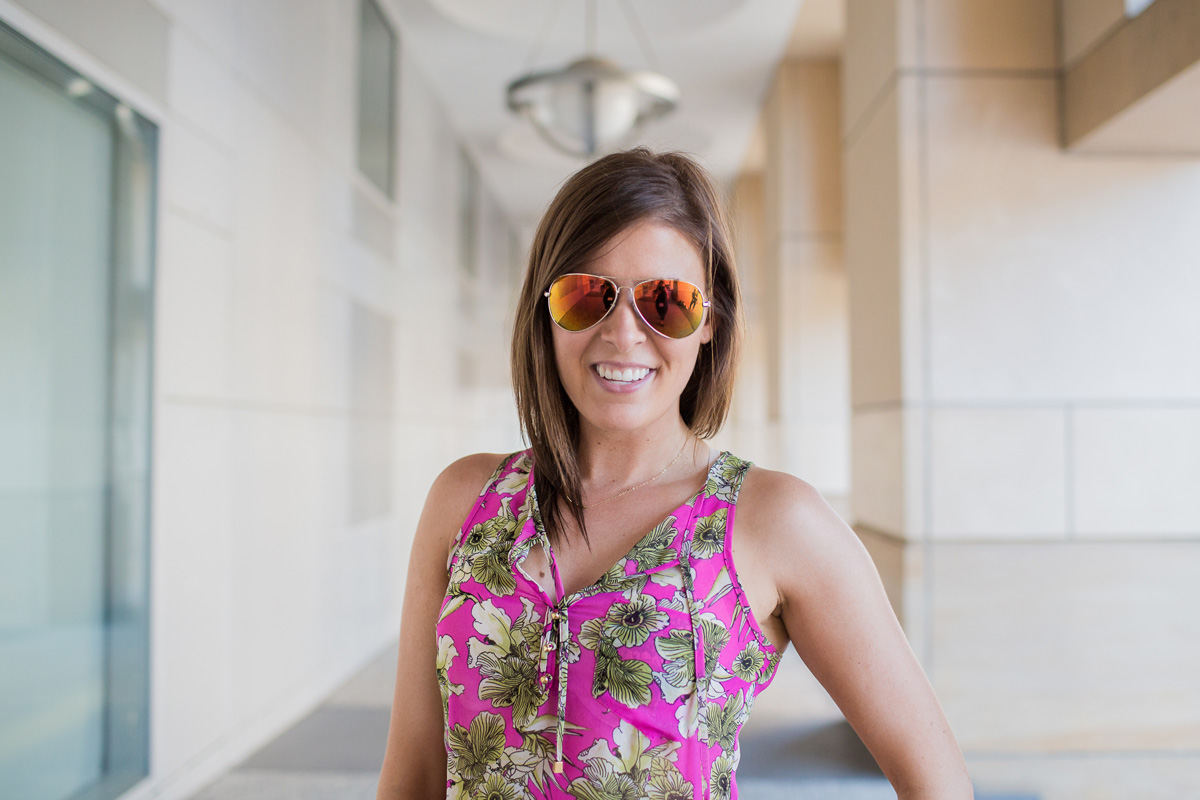
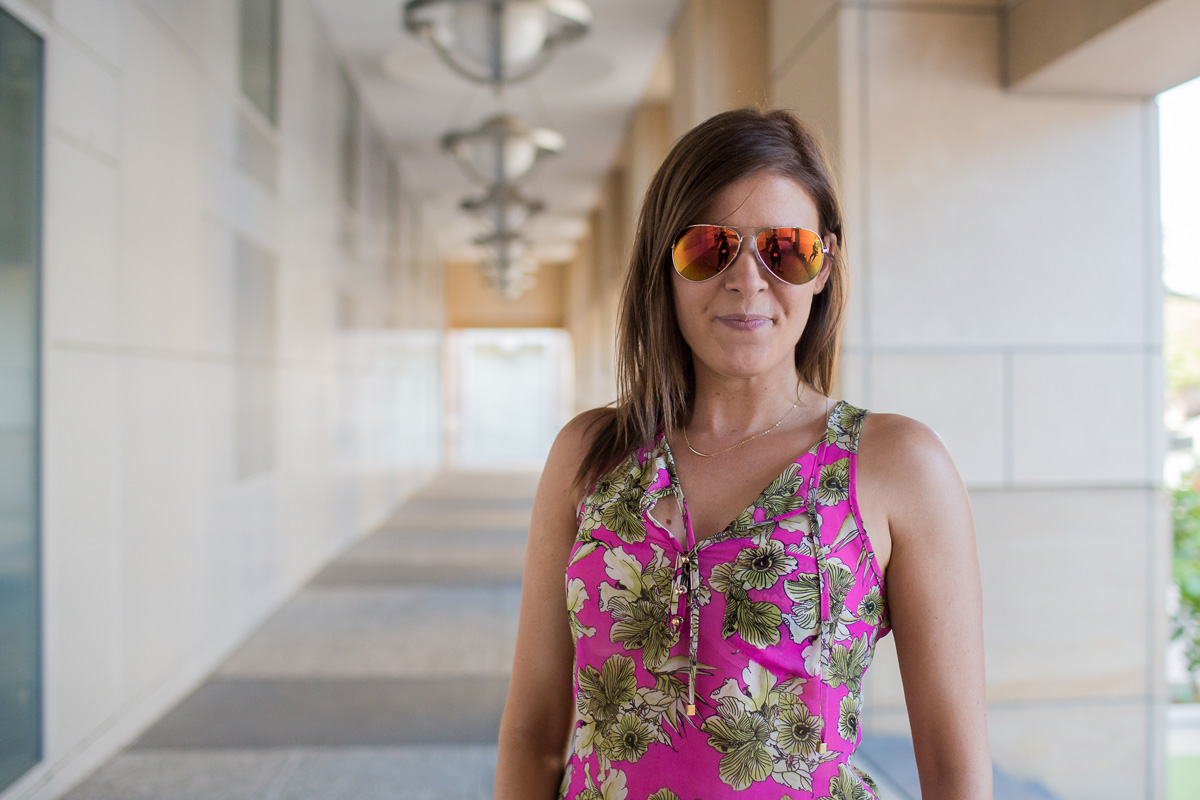
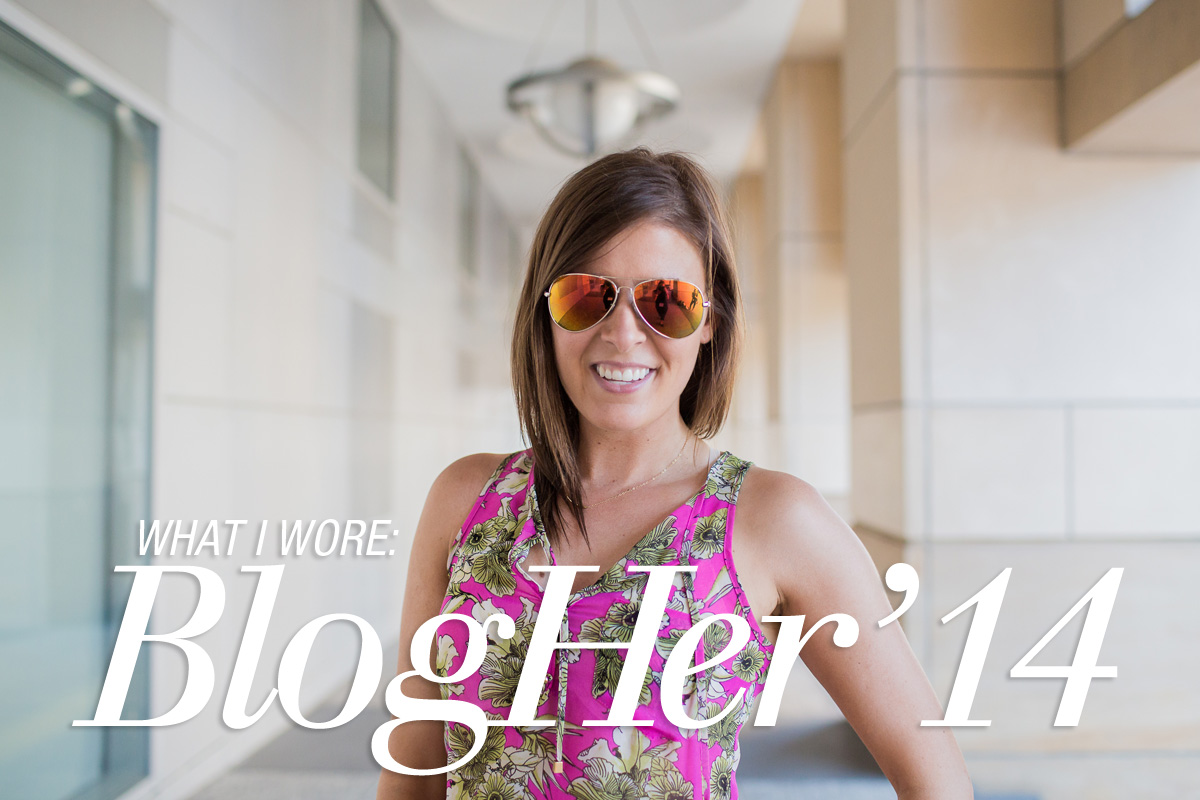 I thought it was due time to publish another outfit of the day post, and what better time to do it than at a blogging conference? My friend Jessica snapped and edited these photos of me (minus the one’s in the blue dress because we forgot to do them that day). I felt fancy, modelling for her.
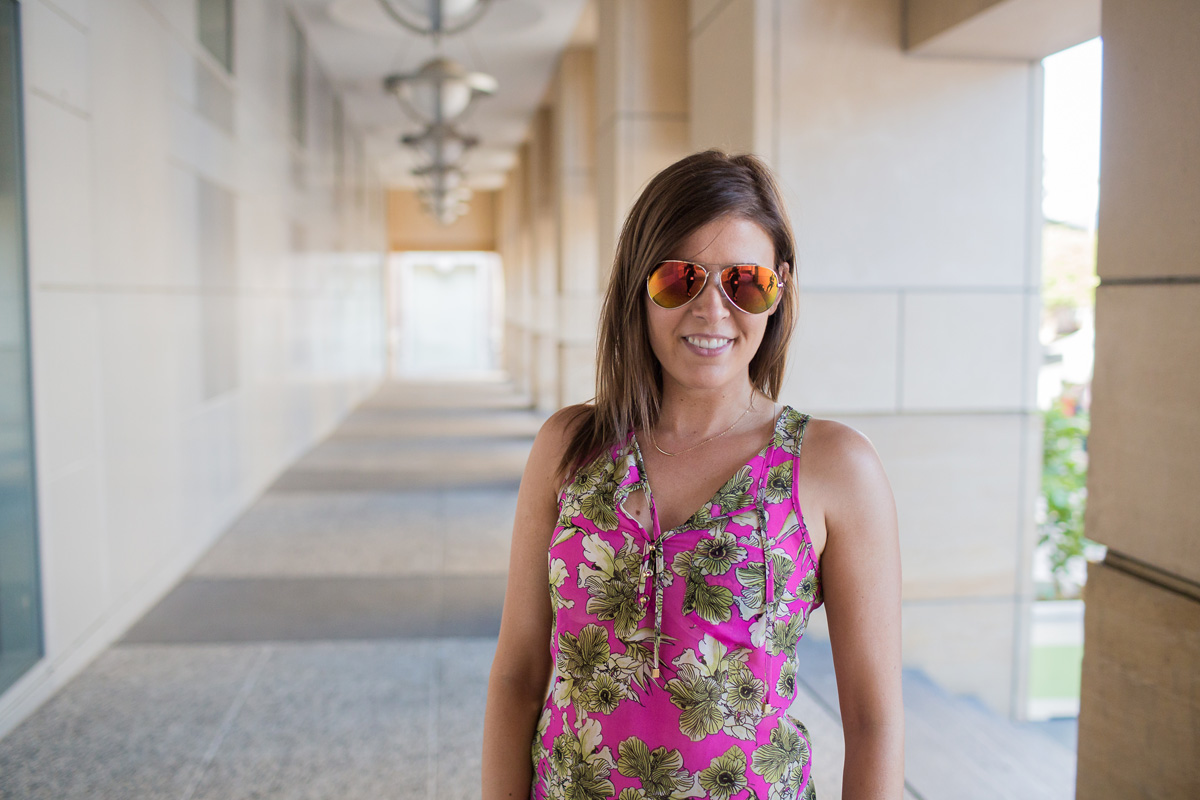

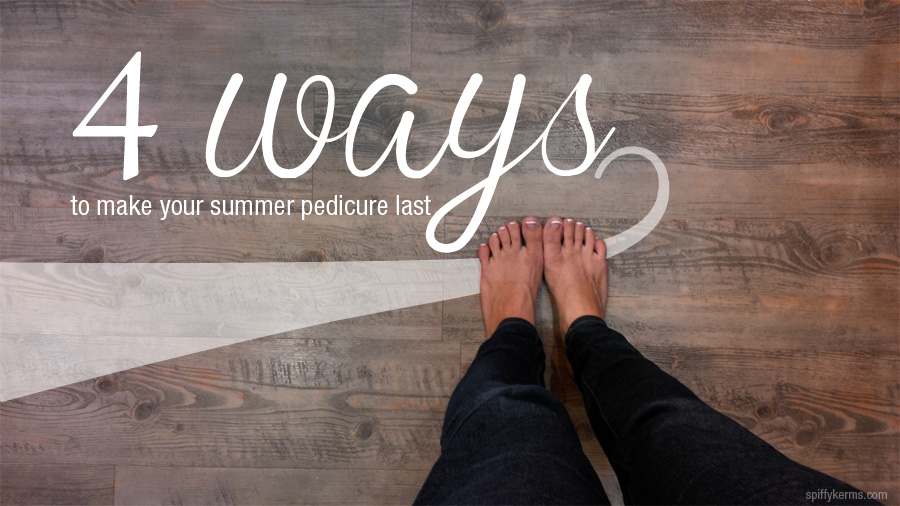
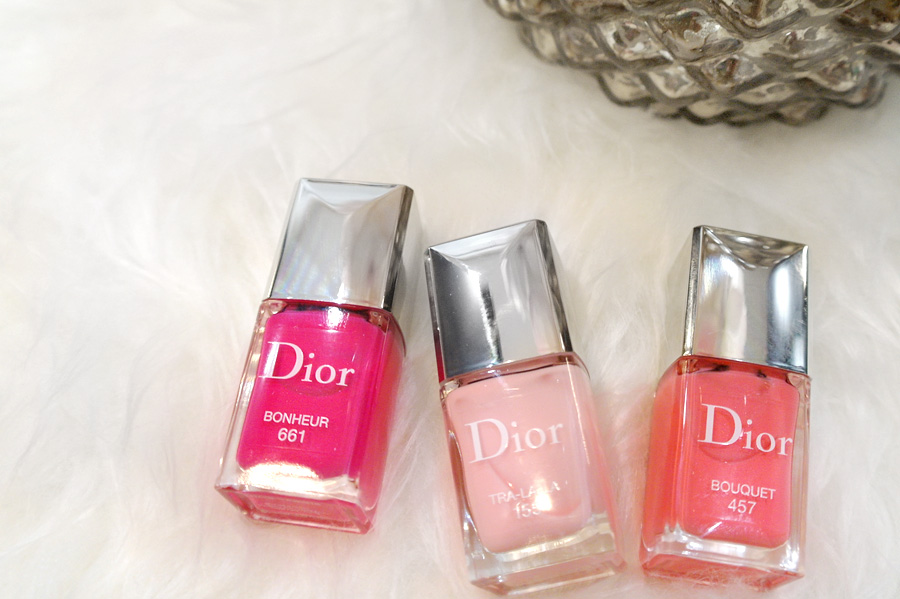 Bring your own nail polish
 Moisturize your feet and cuticles